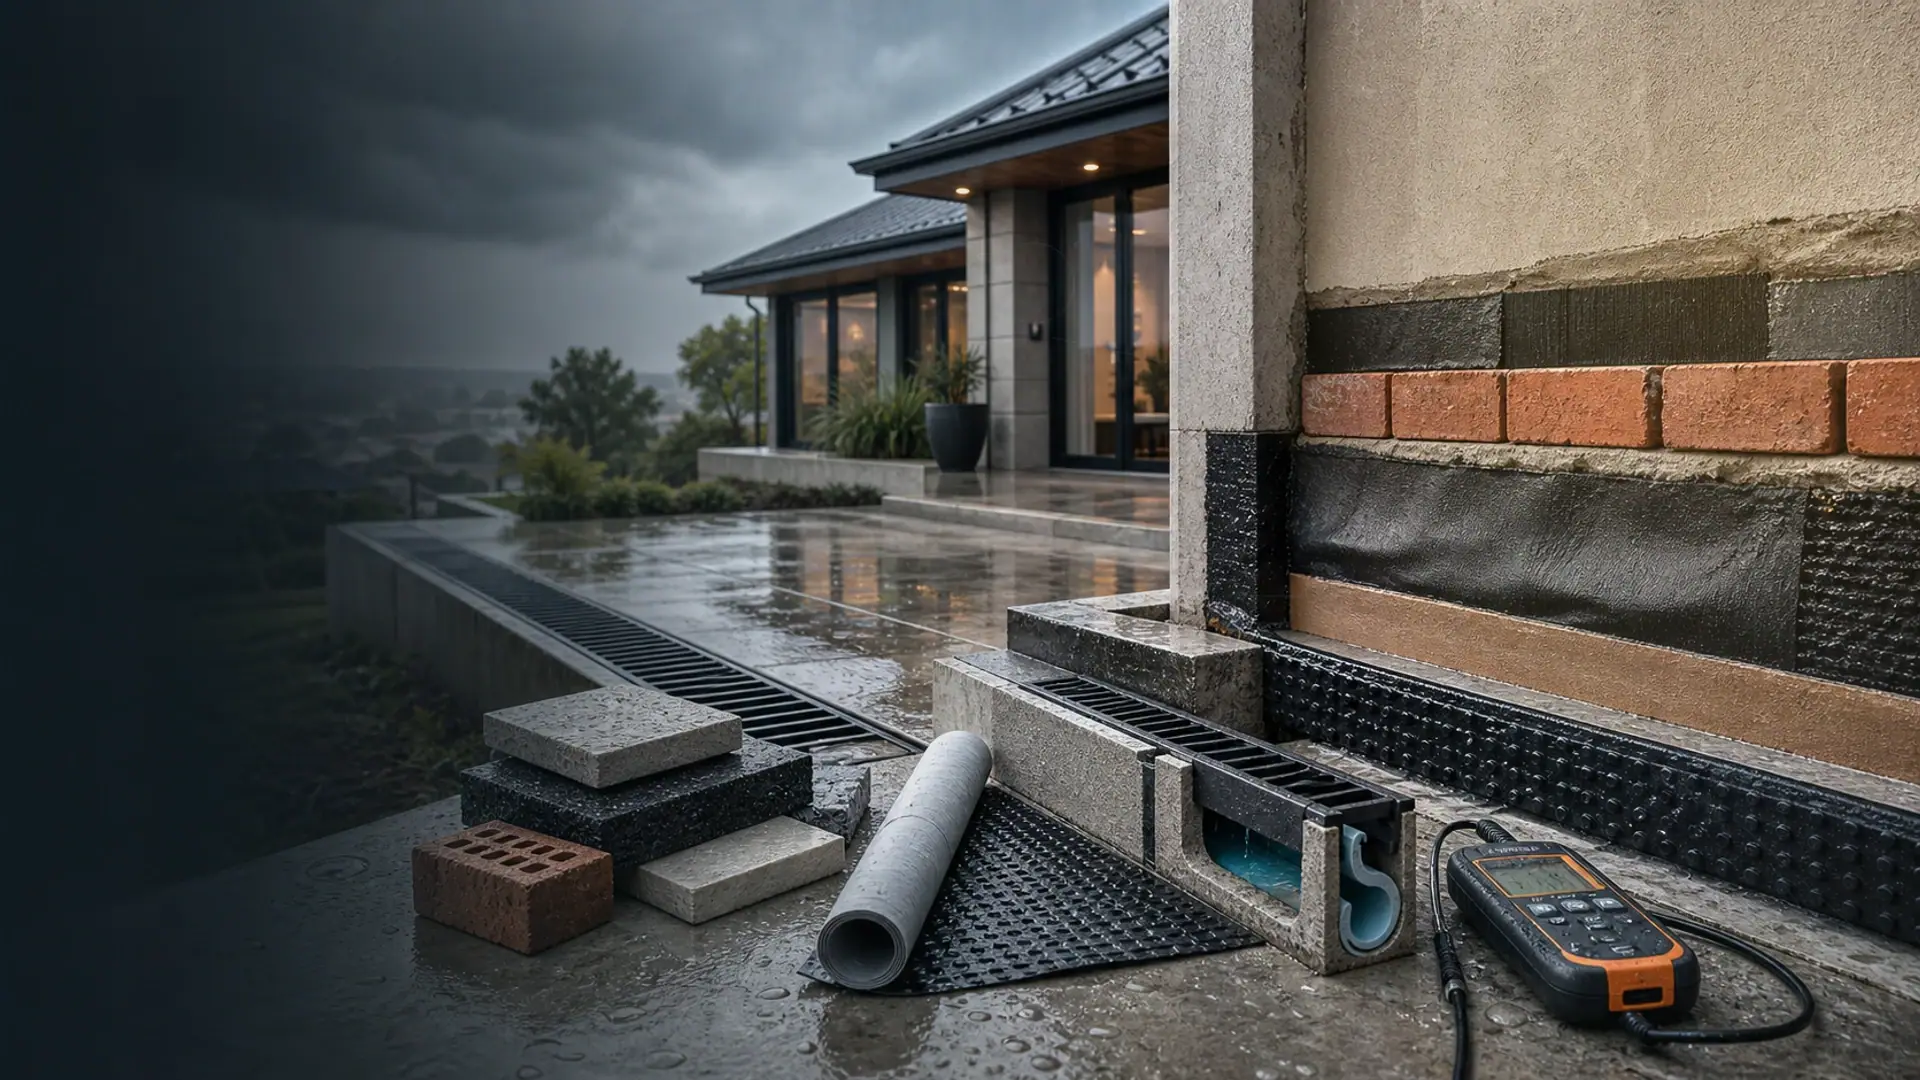
Rising Damp: Signs, Causes and Fixes
Tide marks, bubbling paint and salty walls – confirming rising damp before paying to treat it
Quick answer
Rising damp signs and causes – tide marks, salts and bubbling paint – how to confirm it really is rising damp before paying anyone.
16 min read
On this page
Have you ever wondered how a small moisture issue can cut into your property’s value and repair budget?
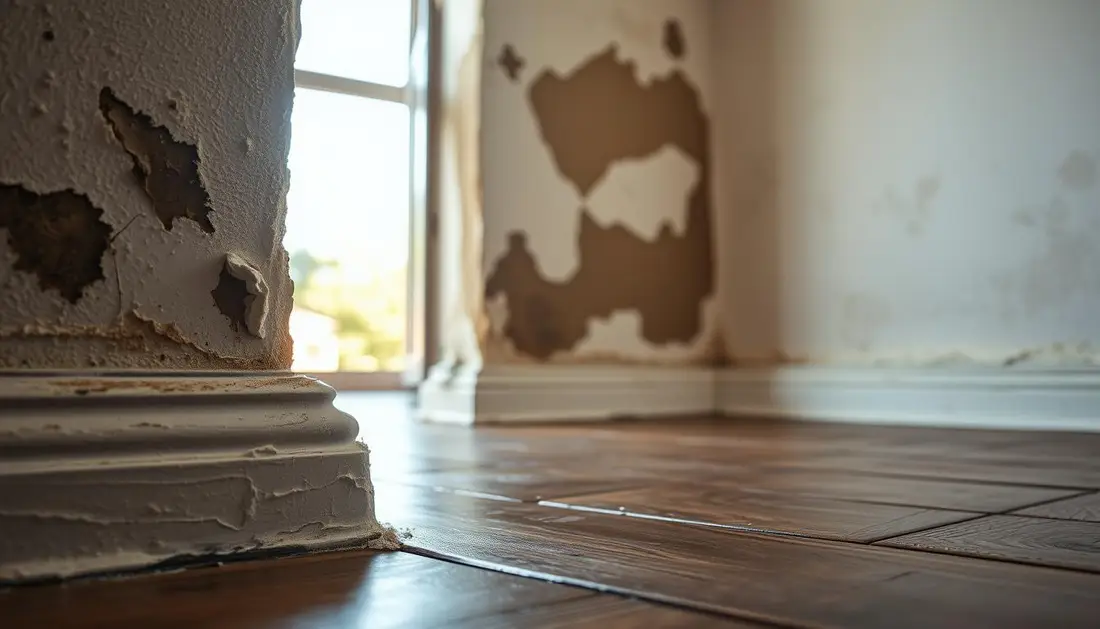
Identifying rising damp early in South Africa helps you manage repair costs and protect long‑term value.
On our platform at buildingpricessouthafrica.co.za, our pricing guidance explains likely cost factors so you can plan with confidence.
If you spot a rising damp problem, act quickly to avoid higher structural bills later.
We connect you with independent contractors in your area through a simple quote request. They assess your home and give accurate estimates.
Understanding these issues early means small repairs now, rather than expensive major works later — and that saves you money.
Understanding Rising Damp Signs in South Africa
A clear checklist makes it easier to tell if moisture is coming up from the ground.
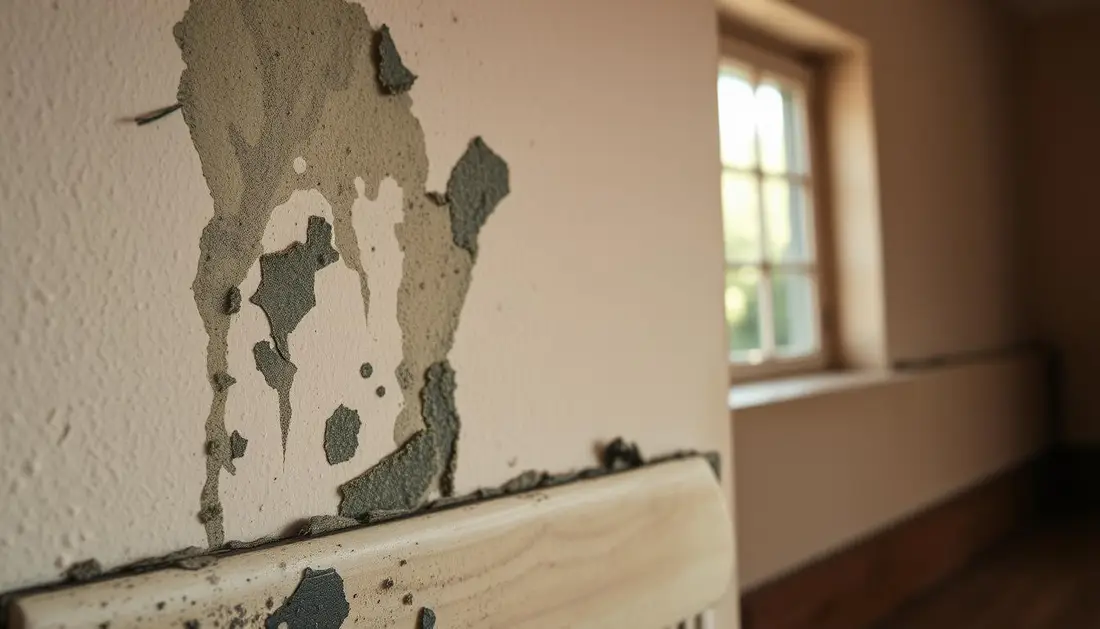
Rising damp is uncommon because it has one source: groundwater moving up through masonry.
Vitruvius noted this issue in Italy around 30 BCE, so it is well known but still rare in modern buildings.
Look for concentrated wet areas at the base of walls, salt crusts on plaster, and repeating damage after repairs.
- Learn which symptoms point to a true damp problem and which suggest leaks or condensation.
- Use our platform to check whether your home likely has a rising damp problem or another cause.
- Surveyors such as Richardson & Starling carry out thorough checks before recommending costly work.
“Get evidence before you spend — correct diagnosis avoids unnecessary repairs.”
Acting early saves money and ensures the correct remedial method for your property type and budget.
Visual Indicators on Interior Walls
Interior wall marks often reveal where moisture has been active behind finishes. Look low on the wall in ground-floor rooms and at the skirting for the clearest clues. Small faults caught early save you time and cost later.
Tidemarks and stains
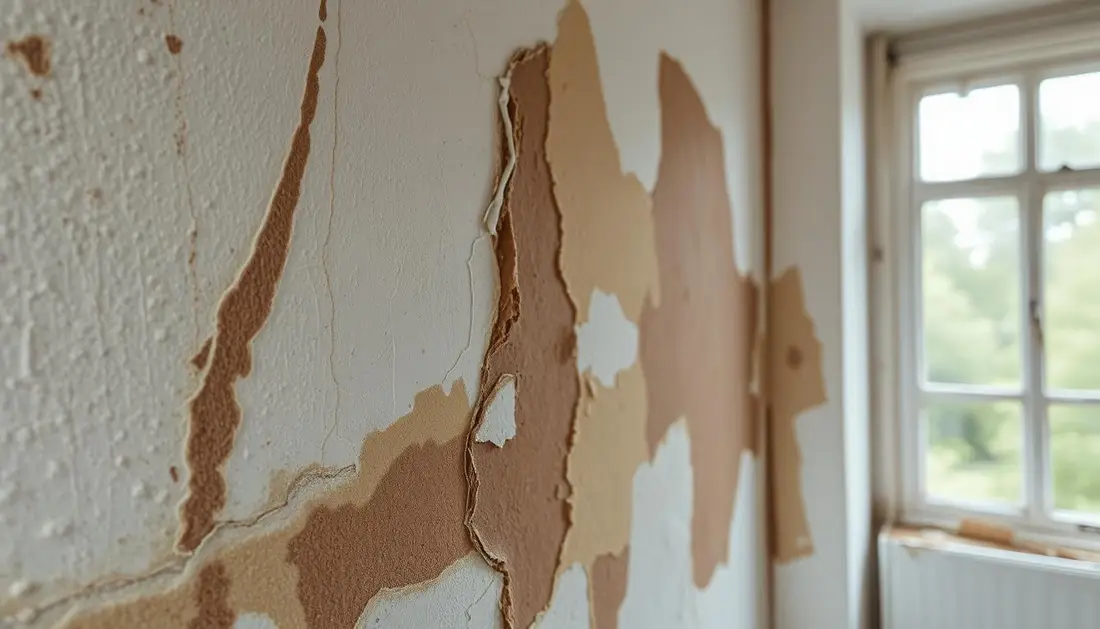
Classic tidemarks appear as brown or yellow patches rising from the floor up to about one metre. These stains often trace a clear line where moisture reaches the plaster and evaporates.
Hygroscopic salts in the plaster may leave a powdery residue. Walls that feel wet to the touch despite a dry surface often contain these salts.
Peeling wallpaper and paint
Peeling wallpaper or bubbling paint near skirting boards usually means moisture is trapped behind the finish. Musty smells often accompany this and suggest that mould may be growing within the wall fabric.
Crumbling plaster or visible salt deposits are a strong indicator that the internal fabric of the wall is affected. Do not simply repaint — correct diagnosis and repair will avoid repeat work and extra costs.
- Quick checks: feel the wall, lift a corner of wallpaper, inspect skirting boards and floor junctions.
- When to call a professional: if you find crumbling plaster, recurring paint failure, or visible salt crystals.
The Role of Capillary Action in Moisture Movement

Capillary action pulls water from the ground into the tiny pores of brick and stone. This natural process acts like a wick and moves moisture up the lower part of a wall.
Because masonry contains many fine tubes, groundwater can be drawn upwards and saturate the wall fabric. The smaller the capillaries, the higher the water can climb — sometimes up to 1.5 metres above floor level.
This is the main cause of rising damp where a building has no effective damp proof course at the base. Understanding capillary action explains why the problem is limited to ground-floor walls.
- Capillary action = physical movement of water through fine pores.
- Height reached depends on capillary diameter and masonry type.
- Without a proof course, moisture soaks the wall and affects finishes.
| Capillary Diameter | Typical Rise | Masonry Type | Remedy Relevance |
|---|---|---|---|
| Large (>10 µm) | Up to 0.5 m | Coarse brick, rubble | Lower risk; simple repairs often work |
| Medium (1–10 µm) | 0.5–1.0 m | Common brick | Install damp proof course; consider injections |
| Small ( | Up to 1.5 m | Dense stone, fine-pored brick | Requires careful diagnosis and treatment |
_Know the mechanism_and you can prioritise the right inspection and remedial work. Our platform helps you find contractors who confirm capillary-driven moisture and recommend a suitable proof course or repair.
Why Painting Over Damp Always Fails
Applying paint to a wet wall is a cosmetic fix that never lasts.
It does not fix the source of moisture. Paint sits on the surface while water continues to move through the masonry. Over time the trapped moisture forces the finish to blister, peel and flake.
The result wastes your time and money. Multiple repaint jobs do not stop the internal decay of plaster or brick. High moisture levels within walls keep damaging the fabric until the root problem is treated.

Professional contractors advise that you must treat the source of the damp problem before any redecoration. That means diagnosing capillary movement, installing a proper proof course or carrying out agreed remedial work first.
- Cosmetic repairs fail: paint hides symptoms but not moisture.
- Wasted costs: repeated finishes add expense without solving the issue.
- Structural risk: untreated moisture accelerates plaster breakdown and masonry damage.
“Treat the cause, then redecorate — it saves money and prevents repeat work.”
Identifying External Masonry Damage
The outside of a wall frequently shows how salts and water have been moving through masonry.
Efflorescence and Salt Deposits
Efflorescence appears as white, powdery deposits on the surface of exterior walls. This is a clear indication that moisture is evaporating and leaving minerals behind.
When bricks and mortar corrode, you face more than cosmetic loss. Long-term water exposure can cause structural damage to the building fabric.
- Fretting occurs when brick faces or mortar crumble and fall away, making the wall more porous.
- Crumbling mortar joints let more water into the masonry and speed up salts migration.
- Salt movement from the ground can weaken plaster on the interior and cause repeat failures.
Regularly inspect external brickwork. Catching these early prevents costly masonry repairs and helps you plan sensible remedial work.
Note: if mortar joints are losing substance, get a professional inspection to confirm the cause and the right repair.
Common Misdiagnoses and Other Damp Types
Different wet patterns on your walls need different solutions. Mistaking one for another wastes time and money, so confirm the cause before you repair.
Condensation Patterns
Condensation forms where warm, moist air meets a cold surface. You will see patchy damp on upper walls, around windows and in poorly ventilated rooms.
Fix: improve ventilation, extractors or insulation rather than a damp proof course.
Penetrating Damp
Penetrating damp comes from outside — cracked mortar, failed flashing or blocked guttering lets water into the wall fabric.
Fix: repair gutters, repoint masonry and seal defects; a proof course is not the correct first remedy for this problem.
Plumbing Leaks
Hidden leaks give persistent wet patches and can mimic ground-related problems. Leaks may reach upper levels depending on pipe runs.
Always get a professional survey to locate plumbing faults before committing to structural work.
Diagnostic Checklist for Property Owners
Start with a short, repeatable inspection that helps you gather evidence and avoid unnecessary repair estimates.
Why check first? Gathering clear information saves you money and gives contractors facts they can price against. A simple checklist helps you decide whether a structural fix is likely or the issue is local maintenance.
- Confirm whether the property has a working damp proof course and check if any soil or paving now sits above it.
- Look at gutters and downpipes for leaks or blockages; external water often mimics a rising problem.
- Note any musty smell or visible tidemarks in the same area and take dated photos from several angles.
- Feel the wall low down; if it stays cold and wet to the touch, record humidity readings if you have a meter.
- Log floor and skirting condition, and list recent groundworks or landscaping that could have changed levels.
Tip: Bring your photos and notes to the first consultation. Clear evidence speeds diagnosis and helps contractors give accurate quotes for any necessary repair.
Structural Risks of Untreated Moisture
Left unchecked, persistent moisture in wall cavities can hollow out timber and lead to costly repairs.
Timber rot typically starts once wood reaches about 20% moisture. At that point fungal spores germinate and decay spreads through skirting and floor timbers.
Rotting Skirting Boards and Flooring
Untreated moisture in your walls will eventually cause skirting boards and floorboards to rot. This weakens the floor structure and raises repair bills.
The presence of black mould is a health concern and a clear signal that moisture levels are dangerously high. A musty smell often accompanies advanced decay.
- If skirting boards feel soft or crumble when touched, the wood has been saturated for some time.
- Over time timber may need removal and replacement rather than patch repairs.
- Act quickly to stop rot spreading into joists and other load-bearing boards.
| Problem | What to check | Action |
|---|---|---|
| Soft skirting | Press low skirting and note softness | Dry area; consult a contractor for repair estimate |
| Floorboard decay | Loose or crumbling boards | Inspect joists; prepare for partial replacement |
| Black mould | Visible patches near ground floor walls | Remedial drying and mould removal; health-safe handling |
Note: prompt action saves cost and prevents wider structural damage over time.
Professional Assessment and Quote Request Process
A site visit from a specialist provides evidence you can trust and realistic quotes you can compare.
Use our quote request process at buildingpricessouthafrica.co.za to connect with independent contractors who carry out full assessments for a rising damp problem.
The assessor will inspect wall fabric, measure moisture and confirm whether the damp problem is capillary or caused by another issue. That ensures you receive cost‑effective solutions tailored to your property.
Prices for surveys vary by scope, access and materials needed. Always ask for written inclusions, exclusions, timelines and warranties before work begins.
- Compare multiple quotes via our platform to find best value.
- Request evidence and a clear scope of works with each estimate.
- Check contractor credentials; Richardson & Starling have carried out professional surveys since 1935.
| Service | Typical Cost Factor | What to confirm in writing |
|---|---|---|
| Site survey | Scope, access | Measurements, cause, next steps |
| Detailed report | Lab tests, photos | Remedial options, warranties |
| Repair quote | Materials, labour, finishes | Timeline, exclusions, guarantees |
“Get clear evidence, compare quotes and confirm terms in writing.”
Remedial Treatment Options
Not all solutions work for every wall; match the method to the material and the measured moisture levels.
Chemical damp proof course
Installing a chemical damp proof course usually means injecting a specialised cream into the mortar course to create a barrier against capillary moisture.
Products such as Dryzone are injected into 12mm holes at about 120mm centres. Holes sit at least 150mm above ground level.
All salt‑contaminated plaster must be removed to at least 300mm above the last contamination to stop salts migrating back into the surface.
Damp proofing rods
Dryrod damp‑proofing rods are a modern alternative. They need no specialist tools and give a neat, targeted treatment for your walls.
After any chemical or rod treatment, the wall must be replastered with a salt‑resistant system and finished to protect skirting and floor junctions.
- Key point: correct mortar injection or rods stop moisture at source and reduce salts in plaster.
- Our approach: recommend proven treatments that give long‑term solutions, not quick cosmetic fixes.
“Treat the cause, remove contaminated plaster and use a salt‑resistant replaster for lasting results.”
The Importance of Correct Replastering
The final plaster layer decides whether the repair endures. Treating the underlying problem is only half the job. If you finish with the wrong material, salts already in the wall will migrate back to the surface and spoil your work.
Standard gypsum plaster is not compatible with salt‑contaminated walls. Use a salt‑resistant system designed for this purpose. The Dryzone Express Replastering System lets contractors refurbish your walls in as little as 24 hours after the injection treatment.
Failing to use the correct plaster risks a quick recurrence of the problem. Professionals will remove contaminated material, prepare the substrate and apply a new plaster that limits salt movement and gives a durable finish.
Key benefits:
- Rapid refurbishment with proven systems such as Dryzone Express.
- Prevents salt migration that causes repeat failures.
- Professional prep and replastering keep your wall finishes sound and attractive.
“Invest in the correct replastering—it’s the only reliable way to keep repairs permanent and your walls looking good.”
Long Term Protection and Warranties
Make sure the work you pay for is backed by a clear, written guarantee from the contractor.
Ask for a written warranty that covers both materials and labour. The document should state duration, exclusions and who is responsible for follow-up repairs.
Long-term protection combines a new damp proof course with correct replastering and regular exterior maintenance. Keep gutters clear and repair cracks to protect the proof course and finishes.
- Get a detailed scope of works and a fixed-price quote.
- Confirm materials, replastering method and warranty length in writing.
- Schedule regular inspections of gutters, flashings and external walls.
“Keep dates, invoices and warranty papers together — they protect value and ease future sales.”
Keep a folder of all professional reports and warranties. That record protects your investment and helps when you sell or insure the property.
Securing Your Property Against Future Damp Issues
Simple, regular checks of gutters, ground levels and rooflines cut the risk of future wall moisture.
Keep soil and paving below the damp proof course and inspect external surfaces for blocked gutters or loose flashings. Good exterior care protects the proof course and the floor junctions.
Improve ventilation to reduce condensation and use mould‑resistant paint on vulnerable walls. If you suspect penetrating damp, a specialist should check the roof, windows and masonry promptly.
Act quickly on any local moisture or wallpaper deterioration to avoid long‑term damage. Small, steady maintenance is the best way to keep your building dry and costs down over time.
Check current pricing in damp proofing guide and plaster rates.
FAQ
What are the common signs of rising damp in South African homes?
Typical indicators include a tide mark on the plaster up from the floor, peeling paint or wallpaper at low levels, salt deposits (efflorescence) on walls and plaster, musty smells, and softened skirting boards or flooring near the ground floor. Check areas next to garden walls, low external masonry and where ground levels are high against the wall.
How does capillary action cause moisture to climb inside walls?
Capillary action occurs when water in the ground is drawn up through pores in brick, mortar or plaster. This movement carries mineral salts with it. When the moisture reaches the wall surface it evaporates and leaves salts behind, causing staining and plaster damage. Blocking the moisture source and installing a correct damp proof course stops that capillary rise.
Why does painting over affected walls fail to solve the problem?
Surface paint only masks symptoms. Paint prevents evaporation in some spots and traps salts and moisture behind the finish. The result is blistering, flaking and recurring staining. Proper treatment requires addressing the moisture source and using correct replastering and breathable finishes after remedial damp proofing.
How can I tell if wall staining is caused by condensation, penetrating damp or rising damp?
Condensation appears as patchy mould on colder, poorly ventilated surfaces higher up or on glass. Penetrating damp shows as localised wet spots after rain, often on external walls with damaged mortar or flashing. Rising damp produces even tide marks up from the floor and salt deposits. If unsure, get a professional diagnostic check to avoid misdiagnosis.
What external masonry signs point to moisture entry from outside?
Look for cracked or missing mortar, damaged flashing, blocked or broken downpipes and gutters, and levels where soil or paving sits above the damp-proof course. Efflorescence—white salt patches on brickwork—is a clear clue that moisture is moving through the masonry.
Could plumbing leaks cause similar damage to rising damp?
Yes. Persistent leaks from pipes, shower trays or internal gutters can mimic rising damp at low levels. Leaks usually produce localised wet patches or pooling and may be linked to specific fixtures. A plumber should inspect suspected leaks before damp-proof treatments proceed.
What immediate checks can I do before calling a specialist?
Check external ground levels, gutters and downpipes, visible cracks in masonry, and ventilation in bathrooms and kitchens. Look for salt blooms on plaster and test whether staining rises clearly from the floor level. Photograph affected areas and note when the problem is worse—after rain, in winter or all year.
What are the typical remedial treatments and costs to expect?
Common solutions include a chemical damp proof course injected into the mortar bed, replacing or installing a new physical damp proof course, improving external drainage and repairs to masonry and flashings. Costs depend on area, access, materials, labour and region; obtain up to three quotes from independent contractors to compare scope and warranties.
What is a chemical damp proof course and how long does it last?
A chemical damp proof course is a fluid injected into holes drilled along the mortar line to create a water-repellent barrier. When correctly installed and followed by appropriate replastering, it typically provides long-term control. Lifespan depends on the product, wall condition and installation quality—confirm guarantees in writing.
When is replastering necessary and what should I specify?
Replastering is needed after moisture control if plaster is contaminated with salts or has lost key strength. Use a salt-retarding or breathable plaster system and allow full drying time before decoration. Specify that contractors remove damaged plaster back to sound material and use appropriate lime or cement-based mixes as recommended.
How do I protect skirting boards and flooring from future moisture damage?
Lower external ground levels where needed, install or renew a damp proof course, improve ventilation and drainage, and replace rotted skirting with treated timber or PVC options. Ensure skirtings are rehung after walls are treated and plastered, and use breathable paints to reduce trapped moisture. It reads well alongside why showers leak.
What warranties and post-treatment checks should I ask for?
Request written guarantees covering the damp proof course, workmanship and materials. Ask for a drying schedule, recommended finishing products and a follow-up inspection date. Ensure independent contractors provide proof of liability insurance and clear scope of what is covered. This pairs naturally with torch-on vs liquid waterproofing.
Can I get multiple quotes through your platform and how many?
You may request up to three quotes, or up to five quote options where available, from independent contractors listed on the platform. Contractors handle site visits, final pricing, timelines and warranties. We do not guarantee the maximum number of quotes for every job. It reads well alongside what plastering per square metre costs.
Ready to compare?