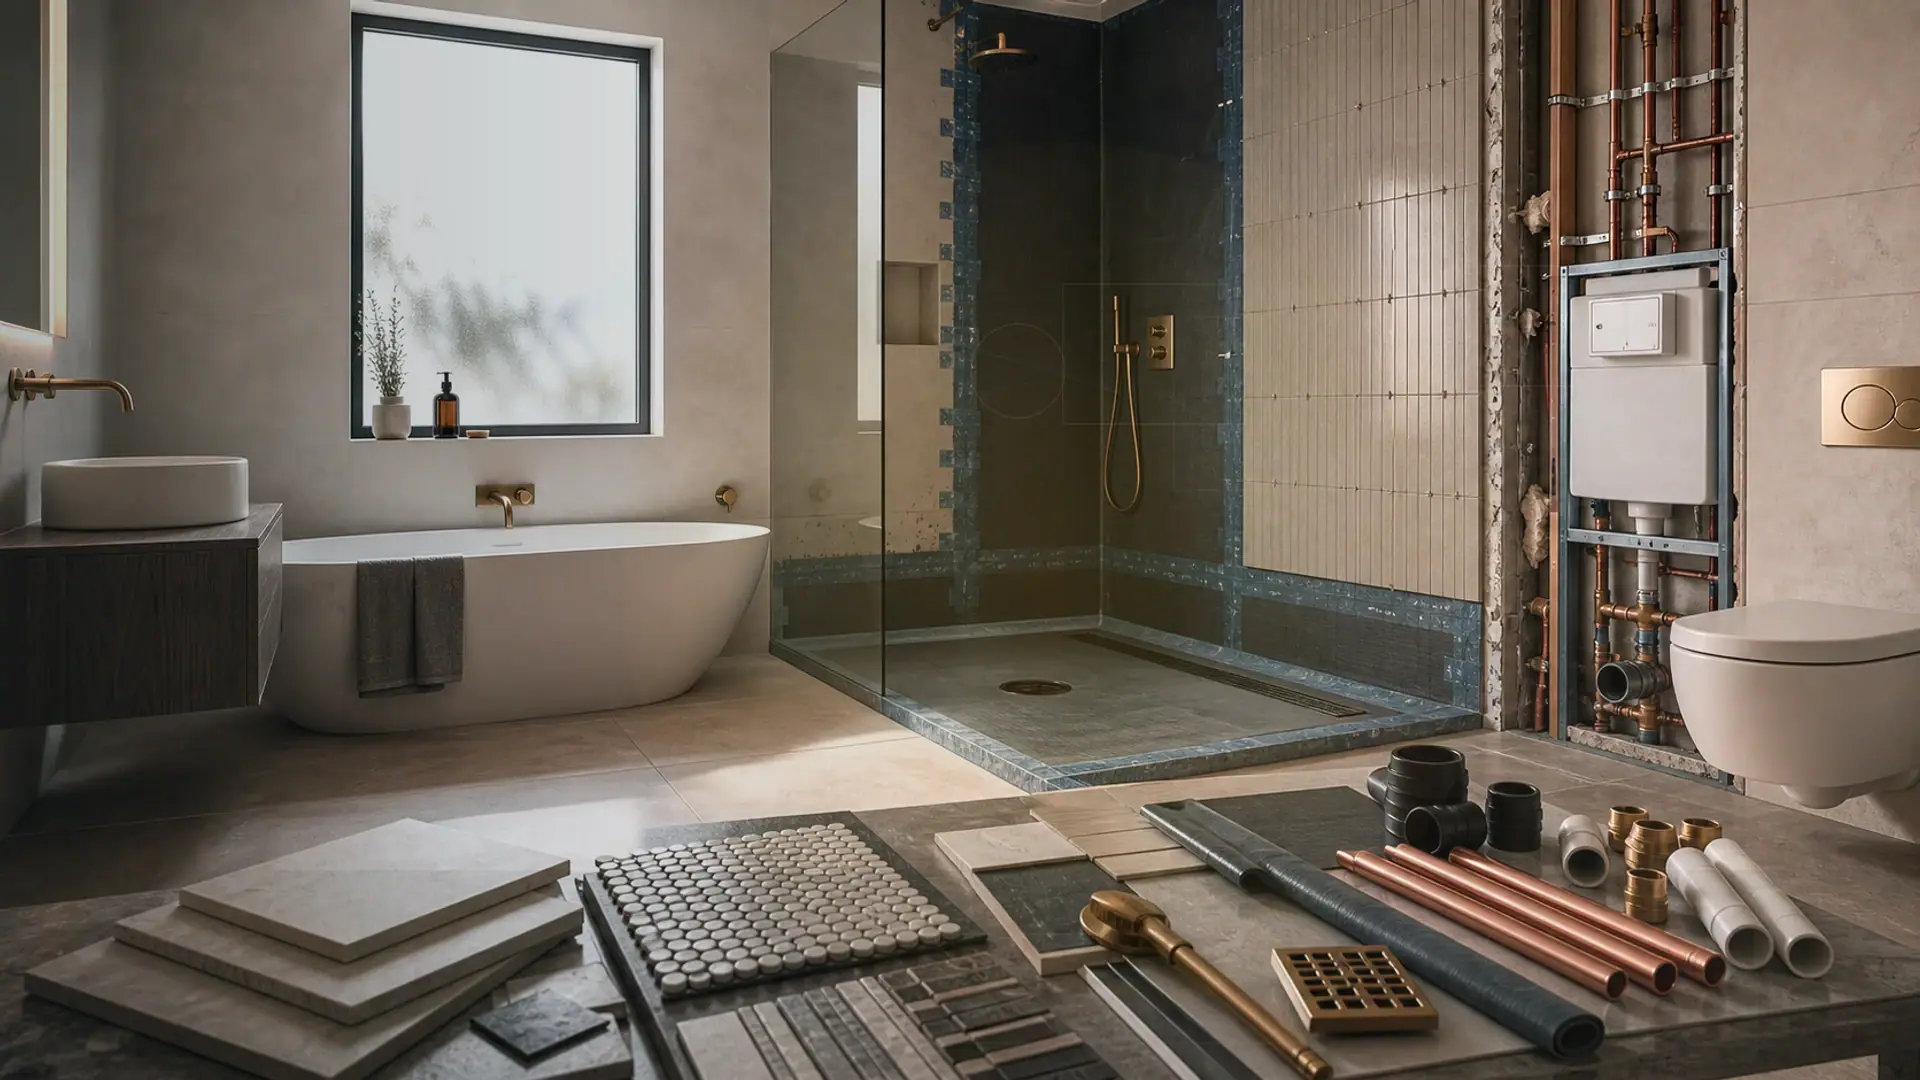
Bathroom Renovation Order of Work
Demolition to fit-off – the wet-room sequence that protects the waterproofing
Quick answer
Bathroom renovation order of work – demolition, screeds, waterproofing, tiling and fit-off in the sequence that prevents leaks.
15 min read
On this page
Curious how much a full bathroom renovation will cost in South Africa — and which phase swallows your time and budget first?
buildingpricessouthafrica.co.za provides clear, practical pricing guidance so you can plan with confidence.
Our platform explains each key phase of the project, from demolition and plumbing through waterproofing and tiling, and shows typical costs for labour and materials.

We connect you with independent contractors who understand local building rules. Use our pricing guidance to compare quotes and avoid hidden expenses.
Proper planning saves weeks and prevents costly rework around showers, baths and wet areas. A skilled tiler and experienced plumber are non-negotiable partners.
Read on for a compact, step-by-step order of work that protects your budget and delivers the look and durability you expect.
Understanding Bathroom Renovation Steps and Costs in South Africa
Understanding bathroom renovation steps helps you plan for a durable installation that often lasts 20 to 30 years.
Costs vary by region, scope and finish level. We explain how labour, materials and approvals shape your total cost so you can compare quotes with confidence.
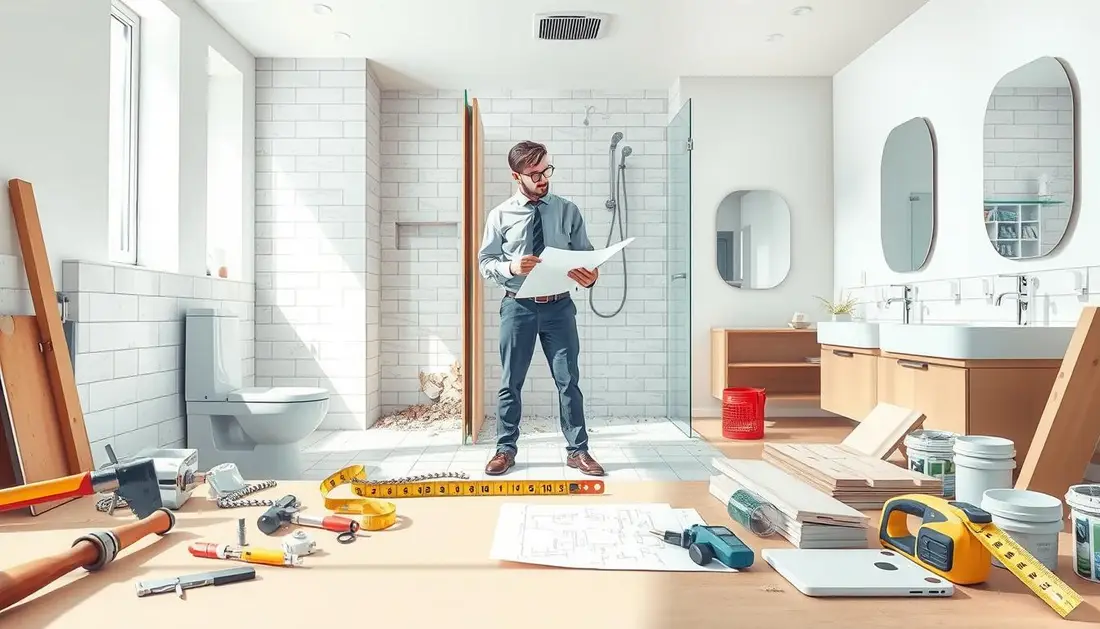
Start with a clear assessment of existing plumbing, electrical and floor structure. This reveals if structural changes are needed and whether waterproofing upgrades are urgent.
Consult local professionals early — an older home commonly increases complexity and time on site. Local trades know municipal requirements and can flag hidden costs.
- Account for regional price variation and access constraints.
- Decide finish levels: economy, mid-range or premium.
- Confirm labour rates and warranty terms in writing.
| Cost Factor | Typical Impact | When It Rises | What to Confirm |
|---|---|---|---|
| Labour | 30–50% of budget | Complex layouts, substructure repairs | Daily rates, trade schedule |
| Materials & Finishes | 25–40% of budget | Imported tiles, premium fittings | Supply lead times, brand specs |
| Waterproofing & Testing | 5–10% of budget | Wet-area reconfigure, older builds | Curing times, flood test certification |
| Approvals & Contingency | 5–15% of budget | Municipal permits, unforeseen defects | Approval fees, contingency allowance |
Plan with a pricing-first mindset. A well-scoped project improves daily comfort and adds lasting value to your property in South Africa.
Strategic Planning and Budgeting for Your Project
A clear scope and realistic budget are the best insurance for a successful upgrade. Start by deciding whether you will keep the existing layout or move plumbing. That decision drives most labour and materials costs.
Defining Your Scope
List desired changes for the vanity, toilet and bath. Gather design ideas and inspiration but make sure they fit your space and budget. Include lighting plans — natural light and fixtures change perceived size and finish choices.
Sourcing Quotes via buildingpricessouthafrica.co.za
Use our quote request process at buildingpricessouthafrica.co.za to connect with independent professionals. We recommend you compare at least three quotes for competitive pricing and service quality.
- Make sure to include a contingency for hidden costs.
- Confirm inclusions, exclusions and warranties in writing.
- Communicate layout and material decisions up front to avoid change orders.

Essential Demolition and Site Preparation
Prepare the space methodically: safe removal of old fittings and tiles reveals the true condition of the floor and walls. This controlled strip-out is the first physical work on your bathroom renovation. It reads well alongside planning a small bathroom renovation.

Have a professional tiler or builder oversee demolition so plumbing and structure remain intact. If you plan to move the shower or bath, this phase exposes pipes for necessary changes.
Clear all debris to allow accurate assessment of the sub-floor and ceiling. Protect the rest of your home from dust and keep the layout accessible for tradespeople.
- Budget for disposal: removal of old materials is a common hidden cost.
- Inspect for damage: careful demolition lets you spot water damage early.
- Plan timing: the process can take several weeks depending on size and design complexity.
Good site preparation gives waterproofing and tiling teams a clean slate, speeds the project and reduces unexpected costs.
Managing Plumbing and Electrical Rough-ins
The rough-in phase sets the plumbing and electrical layout that every later trade relies on. This work places new water supply lines, waste pipes and wiring before walls are closed.
Get a qualified plumber and electrician on site. A plumber will position supply and waste lines for your vanity, shower and bath. The electrician must run lighting and power circuits before plastering.

Coordinating Trades for Efficiency
Good coordination saves time and reduces cost. Confirm exact layout for wall-hung fittings or modern shower trays now. Test all pipes for leaks and have the plumber sign off.
- Verify electrical points near the vanity and shower meet safety rules.
- Check pipe routes in floor and wall cavities to avoid clashes with tiles and fittings.
- Record positions in writing and get contractor sign-off before sealing walls.
| Task | Who | When | Why it matters |
|---|---|---|---|
| Supply & waste lines | Plumber | Before wall close-up | Sets layout for vanity, shower and bath |
| Electrical wiring | Electrician | Before plaster | Positions lighting and power safely |
| Leak testing & sign-off | Contractor/Plumber | After installation | Prevents rework and floor repairs |
Structural Floor Construction and Levelling
Start floor works by confirming load requirements and the precise falls needed for drains in the wet area.
Structural floor construction and levelling create a perfect base for tiles and prevent future cracking. Use load calculations if you will place a heavy bath, large vanity or wall-hung toilet.
For a walk-in shower the finished surface must incorporate a 2% slope so water flows reliably to the drain. Levelling often uses screed or cement boards to give a stable, tiled-ready surface.
- Reinforce where heavy sanitaryware sits.
- Ensure the threshold is level for a seamless transition to the rest of the home.
- Integrate waterproofing at this stage to protect the structure long term.
| Task | Why it matters | When |
|---|---|---|
| Level check | Prevents uneven tiles | Before waterproofing |
| Load reinforcement | Supports bath and vanity | During structural work |
| 2% shower fall | Ensures correct drainage | When forming shower base |
Always get your contractor to verify levels in writing before proceeding to waterproofing and tiling.
Critical Waterproofing and Flood Testing Protocols
Protecting the substructure starts with correct waterproofing and an uncompromising flood test before any tiling begins.
Why this matters: critical waterproofing prevents water damage to the floor and walls. Use a certified membrane applied to all wet areas, including the shower walls and whole bathroom floor.
The Importance of Curing Times
Allow full cure time. The membrane must be completely dry before the tiler walks or begins tiling. Rushing this time is a common cause of failure.
Use manufacturer curing rates and confirm times in writing with your contractor. A professional tiler will wait for sign-off before laying tiles or adhesives.
Why Flood Testing is Mandatory
Flood testing is a mandatory hold point. The shower and wet area are filled and observed to confirm there are no leaks through the system.
- Do not permit tiling until the flood test passes and the test is signed off.
- Request written confirmation of the membrane type, cure time and flood test result from your quoting builder.
- Prefer high-quality waterproofing materials; they cost more upfront but protect the building long term.
| Check | Who signs off | When | Why |
|---|---|---|---|
| Membrane coverage (floor & shower walls) | Waterproofing specialist | After application | Ensures continuous barrier across wet areas |
| Curing complete | Tiler & contractor | Before tiling | Prevents adhesion failure and leaks |
| Flood test (hold point) | Contractor & owner | After cure, before floor finish | Confirms watertight system |
| Written confirmation | Quoting builder | At handover of scope | Protects you if defects appear |
Professional Tiling Techniques and Surface Preparation
Precision tiling begins with the surface beneath the tiles, not the tiles themselves.
Ensure walls and floors are flat and dry before any tile is fixed. Use a primer suited to your materials so adhesives bond correctly.
Erick and Angel relied on a leveler 5,000 times to get the shower tiles perfectly aligned and graded. A laser level is a standard tool for consistent joins on walls and floors.
Plan your layout. Lay out tiles dry to check cuts, balance the look across the room and see how light changes colour. This simple check improves the final design and reduces wastage.
- Adhesive choice: match the adhesive to tile type to avoid future failures.
- Grout and trim: these define the shower and vanity appearance—select with care.
- Ceilings and complex walls: only an experienced tiler should fix vertical or overhead tiles.
“Take time at the start; tiling rushed is tiling repaired later.”
| Task | Why it matters | Who |
|---|---|---|
| Level check | Prevents lippage and uneven grout lines | Tiler |
| Primer & adhesive selection | Assures long-term bond | Tiler / Supplier |
| Dry layout | Optimises look and reduces cuts | Owner & Tiler |
Installing Sanitaryware and Bathroom Fittings
Fitting the final sanitaryware brings your design ideas to life and is the point where weeks of preparation show tangible results.
This is the stage when the bath, vanity and toilet are fixed and tested. Keep layouts simple to maximise space and ease of use.
Selecting Quality Fixtures
Choose robust, easy-to-clean items to reduce maintenance. For a comfortable shower enclosure allow at least 760mm x 760mm with a 610mm clearance.
- A professional plumber will connect taps, showerheads and toilet and test the pipes for leaks.
- If you fit a wall-hung vanity or toilet, ensure the wall structure can carry the load.
- Use matching components where possible — compatible toilet parts can cut flush noise by over 30%.
Finish with lighting and accessories to add function and style. Confirm every fitting is installed to the manufacturer’s instructions before sign-off.
“Installing the final items is the most rewarding part — your space becomes fully usable.”
Final Decoration and Snag List Management
Final touches and a clear snag process turn months of work into a usable, polished space you will enjoy every day.
The final decoration phase includes painting the walls and ceiling and a systematic snag list to confirm every detail is correct. Painting should be the very last activity to avoid spoiling new tiles, vanity or bath fixtures.
The Snag List Process
Do a stage-by-stage inspection. Walk the room with your contractor and check each item in sequence so nothing is missed.
- Floor, grout and tiles — clean joints and consistent grout lines.
- Wall and ceiling finishes — smooth paint, no drips or missed spots.
- Fixtures — bath, vanity and toilet installed and sealed correctly.
- Shower — enclosure fit, door movement and seals (note: glass shower enclosures can take 6–8 weeks to arrive).
- Lighting and electrical — all fittings powered, switched and tested.
Painting and Finishing Touches
Use low-VOC paint suited to humid rooms and wait until flood tests and tiling work are fully signed off.
Inspect the look in different lighting conditions to confirm colour and sheen. Good lighting reveals small defects before final sign-off.
Final Certification
Resolve all snags before final payment. Once fixed, ask your contractor for written certification for electrical and plumbing work that requires it.
Keep copies of certificates safe — you will need them for warranties and if you sell the property in future.
| Stage | What to check | Who signs off |
|---|---|---|
| Pre-paint inspection | Tiling, grout and surfaces are clean and dry | Tiler & owner |
| Final fit-off | Vanity, bath, toilet and shower enclosure fitted and sealed | Plumber/Contractor & owner |
| Electrical sign-off | Lighting, switches and any heaters tested | Electrician & owner |
| Certification & handover | All snag items cleared and certificates issued | Contractor & owner |
“A thorough snag list ensures the work meets your expectations before you release final payment.”
Avoiding Common Construction Failures
Shortcuts on site often show up months later as leaks, cracked grout or warped floors.
Make sure your team never tiles over a fresh membrane or skips pressure and flood tests. These checks prove the waterproofing and plumbing before finishes hide the work.
Many projects fail where you cannot see: behind a wall or under tiles. Rushed tiling, poor pipe support or inadequate waterproofing create concealed defects that cost far more to fix.
Monitor progress closely. Confirm cure times in writing, insist on signed pressure-test reports, and budget for skilled labour rather than cutting costs on critical trades.
- Record hold points (membrane cure, flood test) and get sign-off.
- Watch for uneven tiles, loose grout or damp patches and report these immediately.
- Prefer experienced tiler and plumber for wet-area work to protect long-term value.
| Common Failure | Typical Cause | Consequence | What to confirm |
|---|---|---|---|
| Tiling over fresh membrane | Membrane not cured | Adhesive failure, leaks | Written cure time and sign-off |
| Skipped pressure/flood tests | Rushed schedule or oversight | Hidden pipe leaks, structural damage | Test reports signed by plumber and owner |
| Poor pipe support | Inadequate fixing during demolition/building | Noise, leaks and rework | Visible pipe runs and contractor verification |
| Bad waterproofing at shower/floor junction | Incorrect detailing or materials | Persistent damp, costly repairs | Membrane type, warranty and flood test result |
Final note: a reputable builder welcomes your interest in quality hold points. It protects your budget and ensures the project gives dependable use for years in South African homes.
Securing Your Vision with Expert Guidance
Turn design inspiration into a reliable build by choosing experts who can respect your budget and layout.
Plan with clarity: set your design, confirm tile choices and record finishes so trades work to a single brief.
Use buildingpricessouthafrica.co.za to request quotes and connect with local professionals who understand South African costs and access issues.
Work with the right team to manage the project from first tile to final sign-off. Good planning protects your budget and delivers the look and function you want in your home.
Visit buildingpricessouthafrica.co.za today to start sourcing experts and turn your ideas into a lasting, well-made space.
Budget it against bathroom remodel costs.
FAQ
What is the usual order of work from demolition to fit-off?
Start with demolition and removal of existing fittings, then assess and prepare structure and subfloor. Next complete plumbing and electrical rough-ins, build or level floors, apply waterproofing and allow curing, perform flood testing, lay tiles and finishes, install sanitaryware and vanity, complete joinery and paint, then do final snagging and certification before handover.
How long does a typical mid-range bathroom project take in South Africa?
A mid-range project typically takes 3–6 weeks on site depending on scope and access. Simpler refits can be 2–3 weeks; full gut-and-replace jobs with structural changes or complex waterproofing can extend to 6–8 weeks. Weather, material lead times and trades coordination affect the schedule.
What are the main cost drivers I should expect?
Major cost factors are labour, quality of sanitaryware and tiles, waterproofing system, plumbing work, tiler skill, and whether floors need re‑leveling or structural repairs. Access, removal of old materials, and local region rates also change pricing. Always get itemised quotes for labour and materials.
How do I define the scope to get accurate quotes?
Decide whether you’re doing a cosmetic refit or a full rebuild, list fixed items (toilet, shower, bath, vanity), note layout changes, and highlight structural or waterproofing needs. Provide photos, dimensions and preferred finishes when requesting quotes so contractors can price labour and materials precisely.
Why is professional waterproofing and flood testing necessary?
Waterproofing prevents leaks that cause rot, mould and structural damage. Flood testing verifies membranes and falls work under real conditions. In South Africa, correct waterproofing and testing are essential to secure warranties and meet building control requirements.
How long must waterproofing cure before tiling?
Follow the membrane manufacturer’s guidance; most cementitious systems need 24–72 hours to cure, while liquid membranes can require 48–96 hours. Allowing full cure avoids bond failure and ensures the membrane has reached design performance before tiling.
When should I involve a plumber and electrician?
Engage both before demolition or at the very start of work. They must coordinate rough-ins for drainage, waste, hot-water systems, power points, lighting and extraction. Early involvement reduces rework and ensures installations meet SANS and local regulations.
Can I change the layout or move plumbing fixtures easily?
Moving fixtures is possible but adds cost for new drain runs, risers and possible structural work. Short relocations within the same soil stack are cheaper than moving to a different stack or level. Get a plumber to assess feasibility and costs before committing to layout changes.
What tiling standards should I insist on?
Request qualified tilers who use proper surface preparation, correct adhesives and grout, adequate expansion joints, and tile spacers for consistent joints. Ensure walls and floors are flat and primed, and that installers follow SANS tile standards and manufacturers’ instructions.
How do I control costs without sacrificing longevity?
Prioritise waterproofing, quality drainage, and a skilled tiler and plumber. Save on cosmetic items like tap finishes or cabinet style rather than skimping on membranes, structural repairs or skilled labour. Ask for alternative material options and compare itemised quotes.
What should a snag list include and who signs it off?
A snag list covers incomplete items, minor defects, grout gaps, paint touch-ups, leaks and loose fittings. The homeowner inspects with the contractor or site foreman, records items in writing and agrees on timelines for rectification. Keep a signed copy for warranty claims.
Do I need local authority approvals or compliance certificates?
Simple cosmetic replacements rarely need approval. Structural changes, major plumbing alterations or building work may require local authority plans and compliance certificates. Confirm with your municipality and ensure contractors provide required SANS or local compliance documents.
How do finishes affect long‑term maintenance and cost?
Durable finishes like porcelain tiles, solid surface benchtops and stainless fittings cost more upfront but reduce maintenance and replacement costs. Avoid soft laminates near wet zones and choose sealed grout and easy-clean glazing for long-term savings.
Can we supply fixtures or should the contractor source them?
Either is possible. If you supply, ensure items meet contractor measurements and delivery timing. If contractors source, confirm brand, warranty and itemised costs in writing. Using reputable South African suppliers helps with warranties and replacements.
How many quotes should I request and what to check on each?
Request up to three independent quotes, or up to five where available. Compare itemised labour, material allowances, brand names, waterproofing system, lead times, exclusions and warranty terms. Verify contractor references and ask for proof of insurance and SABS‑approved materials.
Ready to compare?