What Large-Format Tiles Demand
Flat floors, levelling systems and two-man handling – the premium explained
Quick answer
What large-format tiles demand – dead-flat screeds, levelling systems and careful handling – and why the laying rate is higher.
12 min read
On this page
Have you ever wondered why some projects with big tiles fail while others last for decades? The answer usually lies in technique, materials and accurate costing for South African homes.
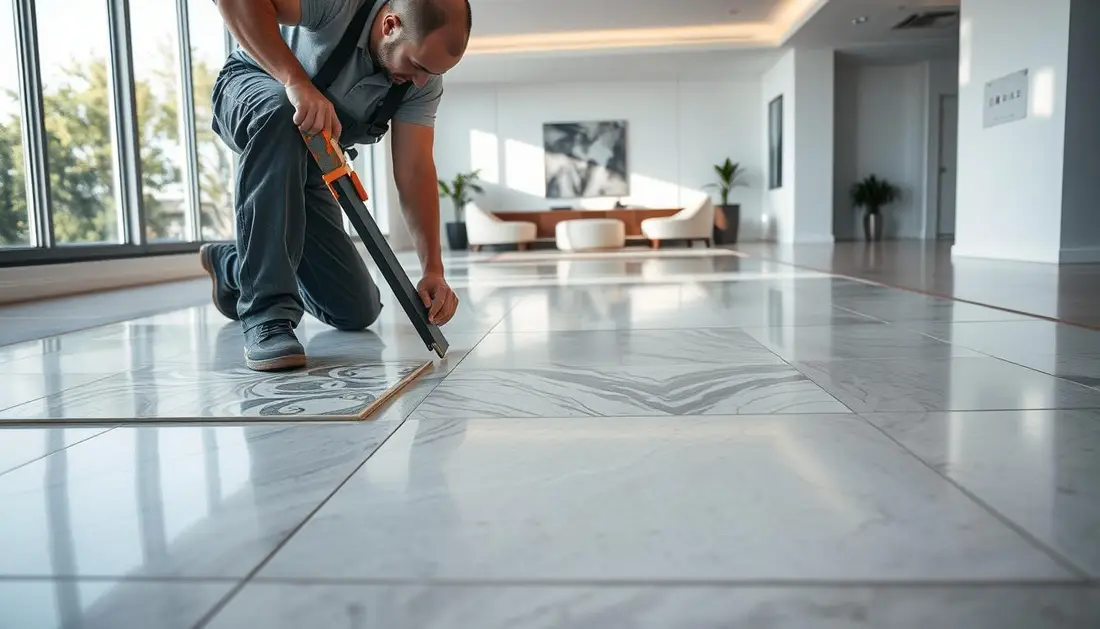
At buildingpricessouthafrica.co.za we explain that a large format tile has at least one edge over 600mm or a facial area above 3500cm².
Professional work needs a perfectly flat substrate to prevent cracking, lippage or failed joints across a wide surface. Double-buttering and the correct adhesive, such as TAL Goldstar XL, give the open time and full contact needed for porcelain tiles.
Our platform and our pricing guidance help you plan costs and choose the right mortar, spacers and grouting technique. We show which products suit walls, floors, stone or concrete bases and how cutting and tile using procedures affect labour time.
Start here to make sure your renovation uses the right steps, skills and contractors for a durable finish.
Understanding Large Format Tile Installation in South Africa
Bigger slab sizes are reshaping local tiling practice and demand specialist fixing techniques. In South Africa the shift from natural stone slabs to manufactured porcelain and ceramic has changed how professionals work.
Correct handling matters. Manufacturers now specify careful cutting and handling to avoid micro‑cracks. For floors, a medium‑bed mortar is the usual recommendation to compensate for any substrate irregularities.
Our pricing guidance shows how mortar choice, adhesives and cutting methods affect cost and time. Use our quote request process to compare contractors who know regional standards and the specific needs of these heavy‑duty panels.
“A properly bedded panel will resist cracking and keep grout lines true across wide spans.”
Practical factors—layout complexity, site access and the type of floor—directly influence labour and material budgets. Follow our advice and you will reduce risk and get a durable finish that meets South African building expectations.
Assessing Substrate Flatness and Surface Preparation
A perfectly level substrate is the single non-negotiable step before laying any slab-sized covering.
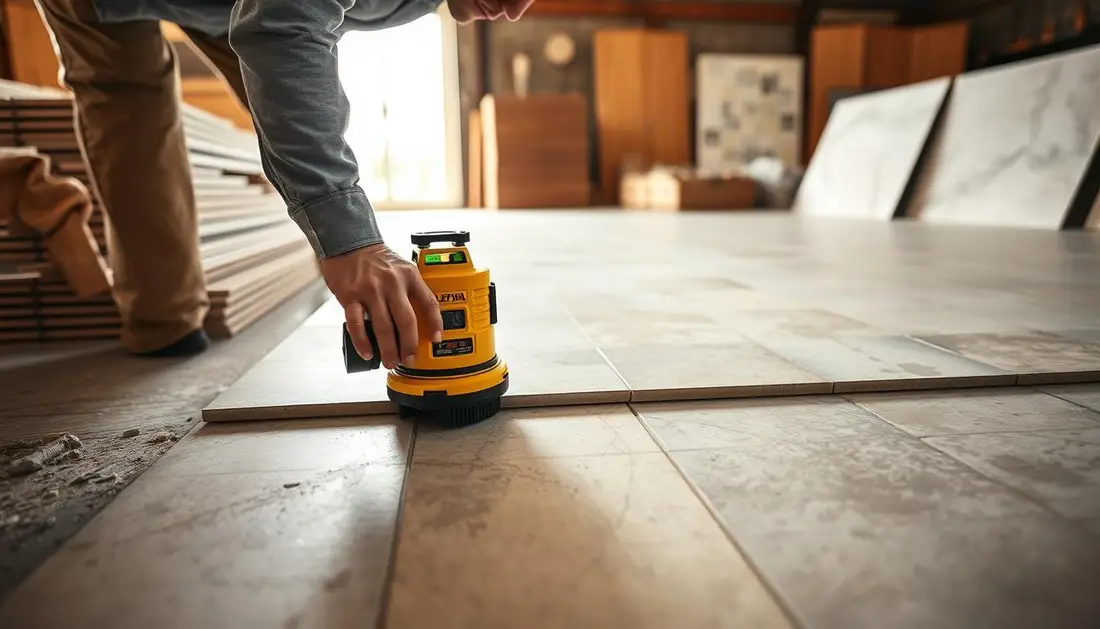
Start by testing for flatness with a long straightedge or laser level. The ANSI rule allows no more than 1/8“ variance in 10 ft. That standard is a practical benchmark to make sure the mortar bed will be uniform.
Testing for flatness
Check the floor across several lines and record highs and lows. Grind high spots and mark depressions for filling. Use a laser level to confirm that the floor meets the required line before you proceed.
Self-levelling requirements
Contractors often use self-levelling products such as TAL Screedmaster and TAL Superscreed SL to reach the necessary surface tolerance. These products create a consistent bed for mortar and adhesives.
“Any depression in the floor acts like a valley and can cause cracking.”
Make sure you match mortar type to substrate and size. Proper preparation reduces the risk of grout failure, lippage and cracking on walls and floors.
| Product | Use | Benefit |
|---|---|---|
| TAL Screedmaster | Floor levelling | Rapid set, smooth surface for mortar bedding |
| TAL Superscreed SL | Deep fills and level correction | High flow, durable base for heavy panels |
| Medium-bed mortar | Adhesive bed for slabs | Compensates minor irregularities; ensures full back contact |
Essential Tools and Systems for Heavy-Duty Tiling
Professional results start with the correct tools and a reliable levelling system on site.
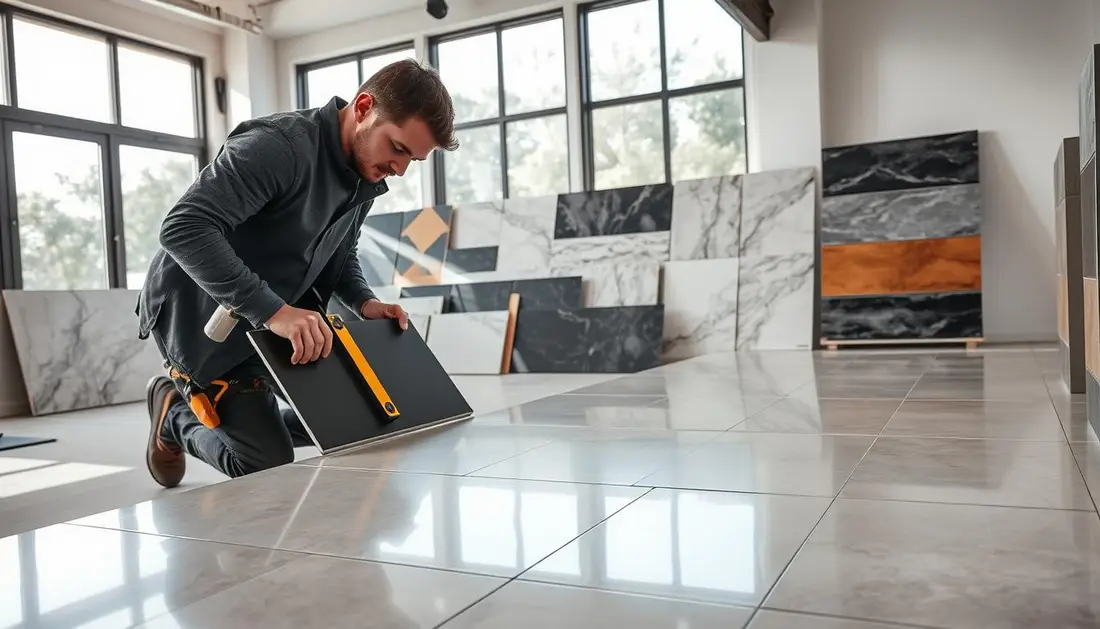
Handling slab-sized coverings demands specific gear. You must plan for two-person lifts and secure staging to avoid breakage and injury.
Handling materials and support
Use a premium notch trowel such as the SUPERIORBILT model to achieve 95% mortar coverage under the panel. Full coverage prevents hollow spots at the back and improves bond to the substrate.
Levelling systems are a critical step. They pull edges into true alignment and cut down on lippage across the floor.
- Choosing the right notch size depends on the panel size and type.
- Rapid-setting mortars reduce project time and let you grout within hours.
- Two-man handling is standard for safety and accuracy when placing format tiles.
“Good tools reduce labour time and risk.”
Our pricing guidance reflects that professional contractors invest in quality tools and adhesives to save time and ensure a durable finish.

Strategic Layout Planning and Lippage Prevention
Start your tiling by mapping runs and focal lines to avoid awkward cuts and visible joins. Dry-lay panels along a laser line to see edge matches and grout alignment. This step helps plan cuts and reduces wasted material.
Managing lippage risks
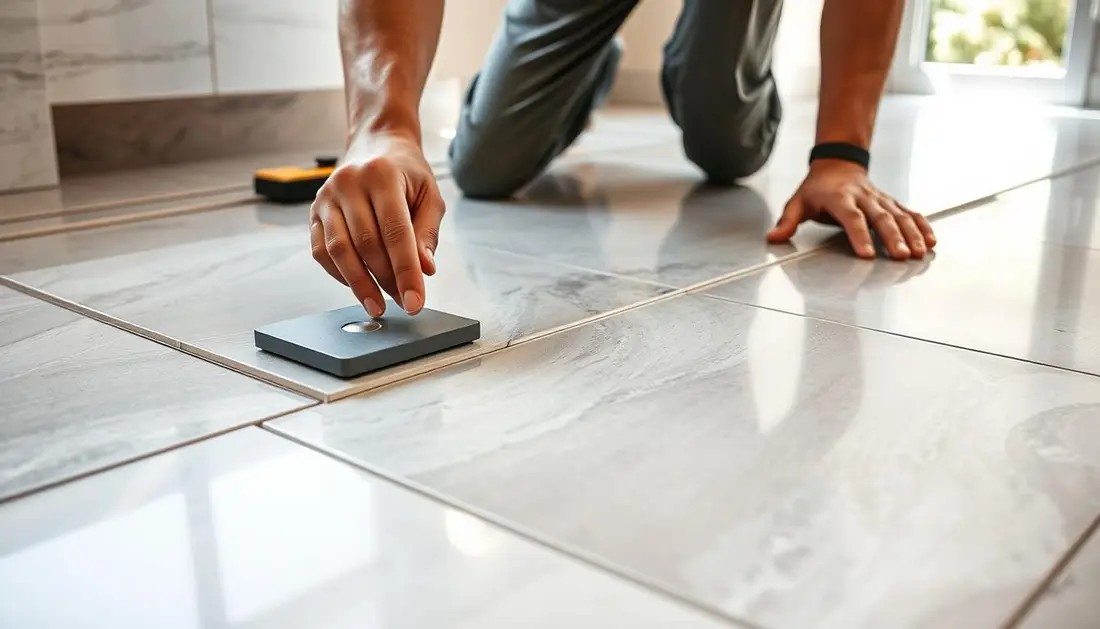
Lippage often comes from the natural curvature or bowing of each panel. Use levelling spacers and wedges to pull adjacent edges level while the adhesive cures.
Use a rubber mallet gently to settle edges and achieve full back contact with the mortar. Make sure adhesives and mortar systems are rated for heavy porcelain panels.
Pattern considerations
A running bond can highlight edge variance. Keep any offset at or below 30% to limit lippage risk. Staggered layouts may increase labour and alignment time.
Set a laser line for straight joints and plan cuts so visible edges fall where they look balanced on walls and floors.
Where this approach is not ideal
Do not use slab-style coverings where the substrate cannot be made perfectly level or where floor deflection is significant. Such areas need structural repair first.
Make sure you discuss access, pattern complexity and adhesives with your contractor; complex patterns raise labour cost and time.
| Issue | Control | Effect on cost |
|---|---|---|
| Lippage from bowing | Levelling spacers, wedges, rubber mallet | Moderate—adds labour time |
| Misaligned joints | Laser line, dry layout | Low—preparation time |
| Unstable substrate | Repair or screed leveling | High—may add materials and labour |
| Complex patterning | Extra planning and cuts | Higher—skilled labour required |
Selecting the Correct Adhesive and Mortar Systems
The correct adhesive choice prevents common failures such as hollow sounds and cracking.
Use polymer‑modified mortars that meet ANSI A118.4 or A118.15 as recommended by TCNA for concrete or plywood substrates. These products give the bond strength needed for heavy panels and reduce movement at joints.
Medium‑bed mortars control shrinkage while curing. That helps prevent lippage and ensures full back contact under each panel.
TAL Bond or TAL Bond Powder can be added to grout and mixes to improve flexibility and adhesive strength. Always match the adhesive chemistry to the substrate and the tile type.
“Selecting the correct adhesive and mortar system is the most important step for long‑term durability.”
- Confirm mortar rating with your contractor before buying.
- Premium mortars cost more but reduce call‑backs and repairs.
- Compatibility with walls, floor or plywood surfaces is non‑negotiable.
| Product | Use | Benefit |
|---|---|---|
| ANSI A118.15 mortar | Concrete or plywood substrate | High bond strength for heavy panels |
| Medium‑bed mortar | Floor bedding | Controls shrinkage; reduces lippage |
| TAL Bond additive | Grout & adhesive mixes | Improves flexibility and bond |
Ask your contractor which adhesive and mortar products they will use, and get this confirmed in writing before cutting or fixing begins.
Professional Techniques for Handling Large Format Tiles
A disciplined approach to bedding, cutting and tapping prevents costly rework on big panels.
Back-buttering is essential to achieve 100% mortar contact at the back of each panel. This step fills voids and stops hollow spots that lead to cracking.
Cutting must use a high-quality wet saw to give clean edges and avoid chipping. Ask your contractor which saw they will use and how they protect finished edges when installing large format tile.
Use a rubber mallet to gently tap each panel into the mortar bed and bring adjacent edges level. This tool helps set tiles without damaging the surface or edge.
Grouting needs careful attention to joint width. Allow a minimum 3mm for porcelain and 5mm for ceramic to let grout perform as intended. Check products and colours before you sign off.
- Ensure full mortar coverage using back-buttering for floors and walls.
- Protect edges with precise wet-saw cutting and careful handling.
- Leveling with gentle tapping prevents lippage and maintains straight joints.
“Professional handling and the right tools save time and prevent costly fixes.”
Make sure your contractor lists these steps in writing. Our pricing guidance reflects the extra labour, tools and time required for correct handling and grouting of large format tiles.
Factors Influencing Project Costs and Value
Understanding cost drivers helps you compare quotes and avoid surprise charges during a renovation.
The total cost depends on scope, site conditions and the type of materials chosen. Access (stairs or narrow entries) raises labour time and may need extra handling, which increases the labour component.
Material and labour notes: premium adhesives and extra surface preparation for an uneven substrate push prices up. Special cutting and careful grout work add hours and skilled mechanics.
- The number of cuts and protected edges affects labour and waste.
- Regional rates and contractor expertise change day rates and lead times.
- Site repairs or levelling add material and time to the quote.
Always ask for a written breakdown showing inclusions, exclusions, timelines, payment milestones and warranties. Get the contractor to confirm surface prep, adhesives and the estimated completion date in writing.
“A clear written scope reduces surprises and helps you compare value between quotes.”
Securing Your Installation with Expert Contractor Connections
Finding a contractor who knows how to handle heavy panels saves time and avoids costly rework. Use our quote request process at buildingpricessouthafrica.co.za to get up to three local quotes from independent contractors.
Each professional handles site visits, final pricing, work timelines and warranties. When you get quotes, make sure you ask about experience with large format tiles and the specific backing and spacers you expect to use.
Discuss surface prep, the step sequence from levelling to grouting, and the exact line layout before work starts. Confirm all details in writing so you protect your investment and gain peace of mind. It reads well alongside screeds and surface prep before tiling.
For the money side, see tiling rates.
FAQ
What do large-format tiles demand from a tiler?
They need precise substrate preparation, accurate levelling, and experience with heavyweight porcelain or stone panels. You should confirm the contractor understands back-buttering, full-bed adhesive coverage and the extra time for handling, cutting and positioning. Ask for references of similar work in South Africa and a written scope that lists materials, labour hours and warranties.
How does large-format tile installation in South Africa differ from smaller tiles?
Expect higher material and labour costs because of bigger sheet sizes, specialist adhesives and longer installation time. Transport and handling on site are more complex, so factor in scaffolding or suction lifters for walls. Local climate, humidity and regional labour rates influence pricing — get multiple quotes and compare workmanship, not just the cheapest figure.
How do I assess substrate flatness before work starts?
A tiler should use a 2‑metre straightedge or spirit level to check for deviations. Most manufacturers specify maximum tolerances (often 3 mm over 2 m for large panels). If the floor or wall fails the test, the contractor must quote for reprofiling, screed or a cementitious levelling product and show this cost separately.
When is self-levelling required?
Use a self-levelling compound where flatness exceeds the allowable tolerance or where you need a sound, continuous surface on existing concrete, screed or timber. It’s also typical when underfloor heating or heavy foot traffic is present. The quote should list product type, thickness and drying time so you can plan access and follow-on trades.
What tools and systems are essential for heavy‑duty tiling?
Expect a notched trowel sized to manufacturer spec, a large-format tile levelling system, suction lifters, a tiling rack, diamond cutters and an industrial mixer for adhesives. Contractors often use polymer‑modified, large‑format tile mortars and primers like Ardex or Mapei — check product names on the quote so you know what you’re paying for. For what this typically costs, see tiling per square metre costs.
How should large-format materials be handled on site?
They must be stored flat on a stable surface, protected from weather, and carried by two or more people or with lifters. Avoid standing tiles upright against walls and don’t install directly from a damp pallet. Proper handling reduces breakage and extra cost for replacements.
How do tilers manage lippage risks?
They use a combination of a flat substrate, correct mortar coverage (full back-buttering where required), and a tile‑levelling system with appropriate spacers. Skilled technicians check joints constantly and make small adjustments as they work. Request that your quote includes a lippage-control method and an allowance for movement joints.
What pattern considerations should I make with large-format panels?
Decide on bookmatching, straight lay or brick bond before work begins. Larger panels show veins and rectified edges more clearly, so you’ll want to view sample cuts under your room’s light. Pattern choice affects waste percentage and cutting time; expect a higher material allowance than for smaller tiles.
Where are these panels not ideal?
Avoid them in very small bathrooms, oddly shaped rooms with many obstacles, or on uneven timber that can’t be stabilised. They’re less practical where many cuts and offcuts are needed, which increases waste and cost. Your contractor should advise alternatives like smaller porcelain sizes if the layout isn’t suitable.
How do I select the correct adhesive and mortar systems?
Use a polymer‑modified, large‑format tile mortar rated for porcelain or stone and for the specific substrate and location (floor or wall). Manufacturers such as Mapei, Ardex and Laticrete publish datasheets with open time, coverage and suitable trowel sizes — ask your tiler to specify which product they will use on the quote.
What professional techniques are unique to installing large panels?
Techniques include full back-buttering for heavy panels, staged installation to manage weight, precise joint planning with movement joints, and use of mechanical levelling systems. Contractors should also allow extended curing times and check for thermal movement, especially on external façades or floors with underfloor heating.
What factors influence project costs and value?
Scope, tile size and quality (porcelain vs natural stone), substrate repairs, adhesive type, labour time, access and waste allowance all affect total cost. Expect higher hourly rates and product costs than for smaller tiles. Compare quotes that itemise labour, materials, substrate work and finishing so you see where savings or risks lie. This pairs naturally with porcelain vs ceramic tiles.
How do I secure my installation with expert contractor connections?
Request up to three written quotes — or up to five where available — and check each contractor’s portfolio and references. Confirm timelines, product brands, who limits movement joints, and warranty terms in writing. Independent contractors handle site visits and final quotes; ask for proof of insurance and, if applicable, supplier warranties for adhesives and tiles.
Ready to compare?