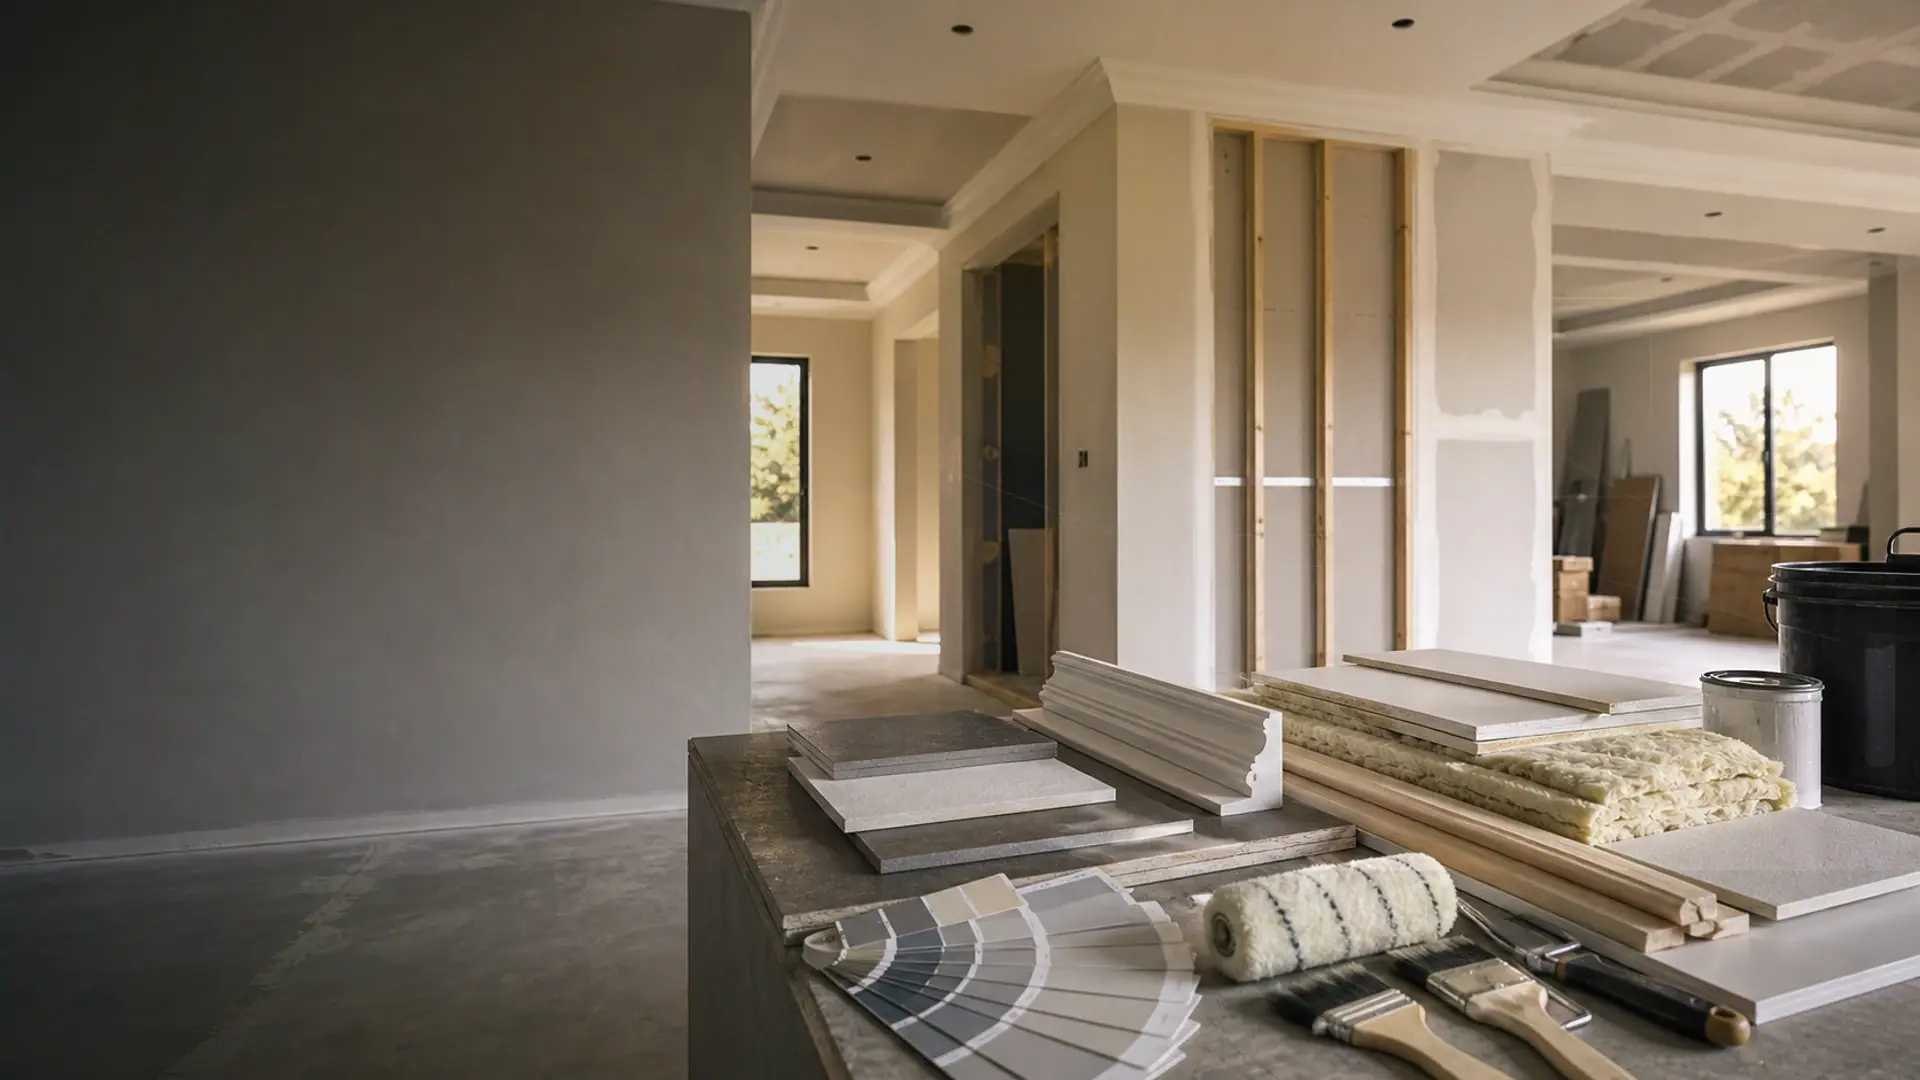
Screeds and Surface Prep Before Tiling
The floor under the floor – screed quality decides the tiling outcome
Quick answer
Screeds and surface prep before tiling – thickness, curing, flatness checks and the prep failures that crack tiles later on.
8 min read
On this page
Are you sure you know the true cost of preparing your surface for new tiles?
buildingpricessouthafrica.co.za provides independent pricing guidance so you can budget with confidence.
Understanding the cost of floor screed before tiling in South Africa helps you avoid surprises and keep your renovation on track.
Our platform shows typical price drivers: scope, labour, materials, access and regional differences.
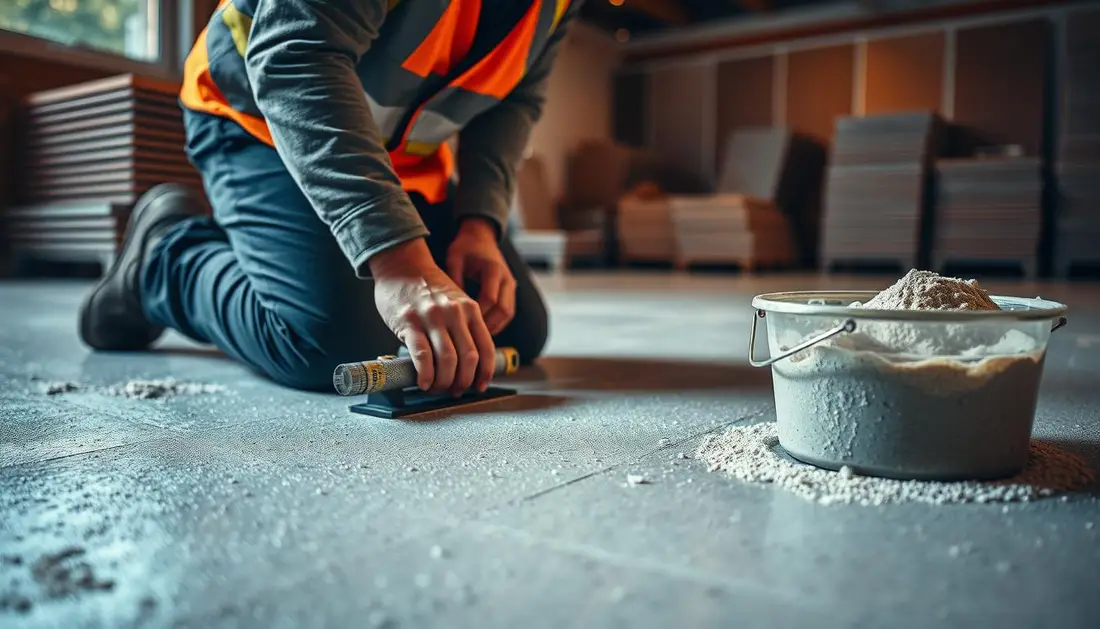
Good preparation prevents moisture issues and long-term damage. It also protects your tile finish and reduces repair bills.
When you use our pricing guidance you connect with independent contractors who can provide itemised quotes and site assessments.
Investing a little extra time in planning saves money and secures a durable, level surface for your chosen tiles.
Understanding the Role of Floor Screed Before Tiling
Curing time, thickness and moisture checks determine when you can start laying tile with confidence. Get these right and your installation will bond and last; get them wrong and you risk cracks, lifts and rework.
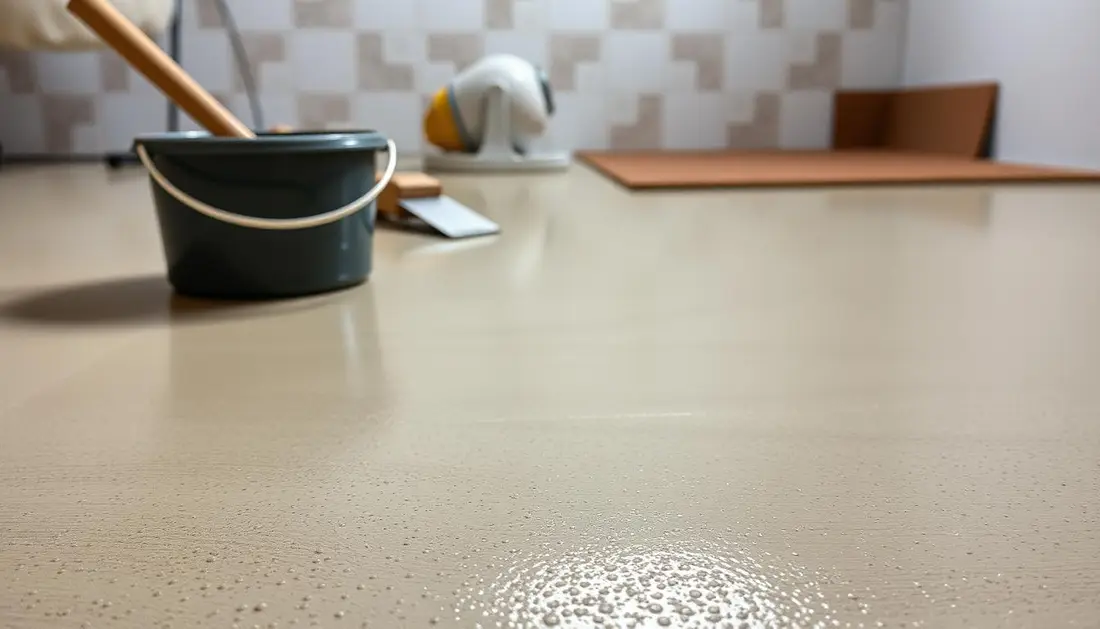
Types of screed and curing times
There are cement-based options and anhydrite systems. Cement mixes are forgiving and dry steadily. Anhydrite screeds contain Calcium Sulfate and need specific curing and sealing to avoid chemical reactions with adhesives.
Allow at least seven days of air cure as a minimum. If you have an underfloor heating system, it must be commissioned and run for a minimum of 14 days to help drying and reduce moisture content.
The importance of a level substrate
Thickness affects drying: thicker layers take longer to reach safe moisture content. Induced joints in the base must be mirrored in your tile layout to prevent future cracking.
- Check moisture content with a meter before laying tiles.
- Seal anhydrite surfaces before using cement-based adhesives.
- Ensure a level surface so adhesives and grout perform correctly.
**Practical tip:**If the substrate shows excess water, delay work until readings are within manufacturer limits for adhesives and tiles.
Essential Surface Preparation and Moisture Testing
Simple tests and light abrasion make the difference between a lasting finish and early failure.
Flatness and moisture checks
Before any tile goes down, check flatness over a 2m span. The surface must not exceed a 3mm gap.
Measure relative humidity and surface moisture. Aim for RH between 40% and 70% and surface moisture below 6%.

Removing laitance and contaminants
Laitance is a weak cement layer that must be removed. Use a universal orbital floor sander for light abrasion.
After sanding, perform industrial vacuuming and high-pressure cleaning or water jetting to remove all dust and debris.
Priming for optimal adhesion
Prime the clean substrate so adhesives bond correctly. If render thickness exceeds 20mm, fix non-oxidising ribbed metal strips to reduce movement and cracking.
- Confirm surface moisture content is under 6% and suitable for laying tiles.
- Tiling over existing tiles can save time but only if the original is sound and level.
- Check joints and adhesive compatibility during preparation to avoid failures.
Common Pitfalls and the Risks of Skipping Prep
Skipping proper preparation is the single biggest cause of tile repairs and early failure on South African jobsites.
Many failure cases trace back to simple shortcuts. Failing to remove laitance leaves a weak surface that prevents the adhesive from gripping. Skipping the 14-day heating commissioning often lets moisture move and the tiles crack.
- Not removing laitance — adhesive loses grip and the tile installation fails.
- Insufficient drying time — moisture movement debonds cement adhesives.
- Ignoring induced joints — natural movement causes cracked or chipped tiles.
- Wrong adhesive for the screed type — loss of structural integrity.
- Dirty or oily substrate — materials cannot form a permanent bond.

Practical step: verify moisture content, confirm drying time and heating commissioning, and match adhesive to the screed and tile type.
| Pitfall | Likely consequence | Prevention |
|---|---|---|
| Unremoved laitance | Uneven bond, adhesive failure | Light abrasion and vacuum, then prime |
| Rushed drying time | Moisture movement, debonding | Allow manufacturer drying days and check RH |
| No induced joints | Cracking and tile loss | Mirror joints in layout and plan movement joints |
| Wrong adhesive | Adhesive failure, reseating required | Confirm adhesive compatibility with screed type |
| Contaminated substrate | Poor bond, staining of joints | Clean, degrease and prime prior to installation |
Securing Professional Guidance for Your Flooring Project
Engage experienced professionals to confirm scope, drying times and adhesive compatibility. Our pricing guidance at buildingpricessouthafrica.co.za helps you compare realistic costs for screed work and tiles in your area.
When planning, remember prices depend on scope, site conditions, materials, labour, finishes, access, region and contractor assessment. Always get inclusions, exclusions, timelines, payment schedules and warranties in writing.
Use our quote request process at buildingpricessouthafrica.co.za to connect with independent contractors for site-specific checks of substrate, thickness and moisture. Request up to three quotes and verify experience with the chosen screeds and cement adhesives.
Our pricing guidance protects you from poor quality installs and helps ensure every stage, from drying time to final seal, meets industry standards.
Run your numbers against tiling cost per square metre and slab rates. For what this typically costs, see what tiling per square metre costs.
FAQ
What is the purpose of screed and surface preparation before tiling?
Proper screed and surface preparation creates a stable, level substrate for tile adhesive and tiles. It controls moisture, removes weak laitance, and ensures the adhesive bonds correctly. Skipping this stage increases the risk of tile debonding, cracking and premature failure.
Which types of screed are commonly used and how long do they cure?
Common options include cementitious bonded screed, sand-and-cement unbonded screed, and flowing (self-levelling) screeds. Cure times vary: traditional sand‑cement screeds typically require 7–28 days per 25 mm thickness to dry sufficiently for tiling, while polymer or flowing screeds can allow earlier tiling—often within 2–7 days—depending on product data. Always follow the manufacturer’s moisture limits measured with a suitable hygrometer or CM meter.
How flat must the substrate be before laying tiles?
Aim for a surface flatness tolerance of around 3 mm over 2 metres for most tiles. Porcelain and large-format tiles need stricter tolerances. Use a straightedge and plane or apply a thin levelling layer where needed to remove dips and high spots before fixing tiles. It reads well alongside our guide to porcelain vs ceramic tiles.
How do I check moisture content in the screed before fixing tiles?
Use a concrete moisture meter (carbide or electronic) or the calcium carbide method for best accuracy. For cement adhesives, moisture should generally be below the adhesive manufacturer’s specified limit—often under 3% to 4% depending on the test. Also consider relative humidity testing for cementitious screeds and follow product guidance.
What is laitance and why must it be removed?
Laitance is a weak, dusty layer of cement and fines that forms on new screeds. It prevents good adhesion of primer and adhesives. Remove it by light mechanical abrasion, power brushing or grinding, then vacuum the dust before priming.
When and why should I prime the substrate?
Prime after the surface is clean and dry. Primers improve adhesive bond, seal porous surfaces and equalise suction. Choose a primer compatible with your chosen adhesive and the substrate type, and follow the manufacturer’s drying time before tiling.
Can I tile over a thin screed or patch repair?
You can tile over a correctly prepared thin levelling layer if it’s compatible with the tile adhesive and achieves required thickness and flatness. For deep repairs or structural substrate issues, use a full-depth screed or specialist repair mortar. Always check adhesive manufacturer limits for levelling product thicknesses.
What are the risks of tiling too soon after screeding?
Tiling too soon traps moisture under tiles and adhesives, causing slow curing, adhesive failure, efflorescence, and tile popping. Excess moisture can also promote mould in wet areas and damage grout joints. Allow the screed to reach the specified moisture content and cure time before fixing tiles.
Do different regions in South Africa affect drying times or product choice?
Yes. Humidity, temperature and ventilation vary across regions and affect drying rates. Coastal, high-humidity areas take longer to dry. Choose products rated for local conditions, and account for longer cure times in quotes and schedules.
How much should professional preparation cost versus DIY?
Costs depend on scope: removal of laitance, levelling, primer, materials, labour and access. Expect contractors to quote per square metre for preparation and levelling work plus materials. Request up to 3 independent quotes to compare prices, product choices and timelines before committing.
Which materials and adhesives should I confirm in writing with a contractor?
Confirm screed or levelling product brand, adhesive and grout type, primer, tile specifications, thickness, joints and waterproofing where applicable. Also record drying times, required moisture tests, warranty terms, and final cost. Written confirmation prevents later disputes.
When should I involve a tiling professional or flooring specialist?
Involve a specialist for large-format tiles, wet-area installations, underfloor heating, structural repairs, complicated falls, or where moisture testing and warranties are required. Professionals assess substrate condition, recommend correct materials and provide a reliable schedule and price. This pairs naturally with what large-format tiles demand.
Ready to compare?