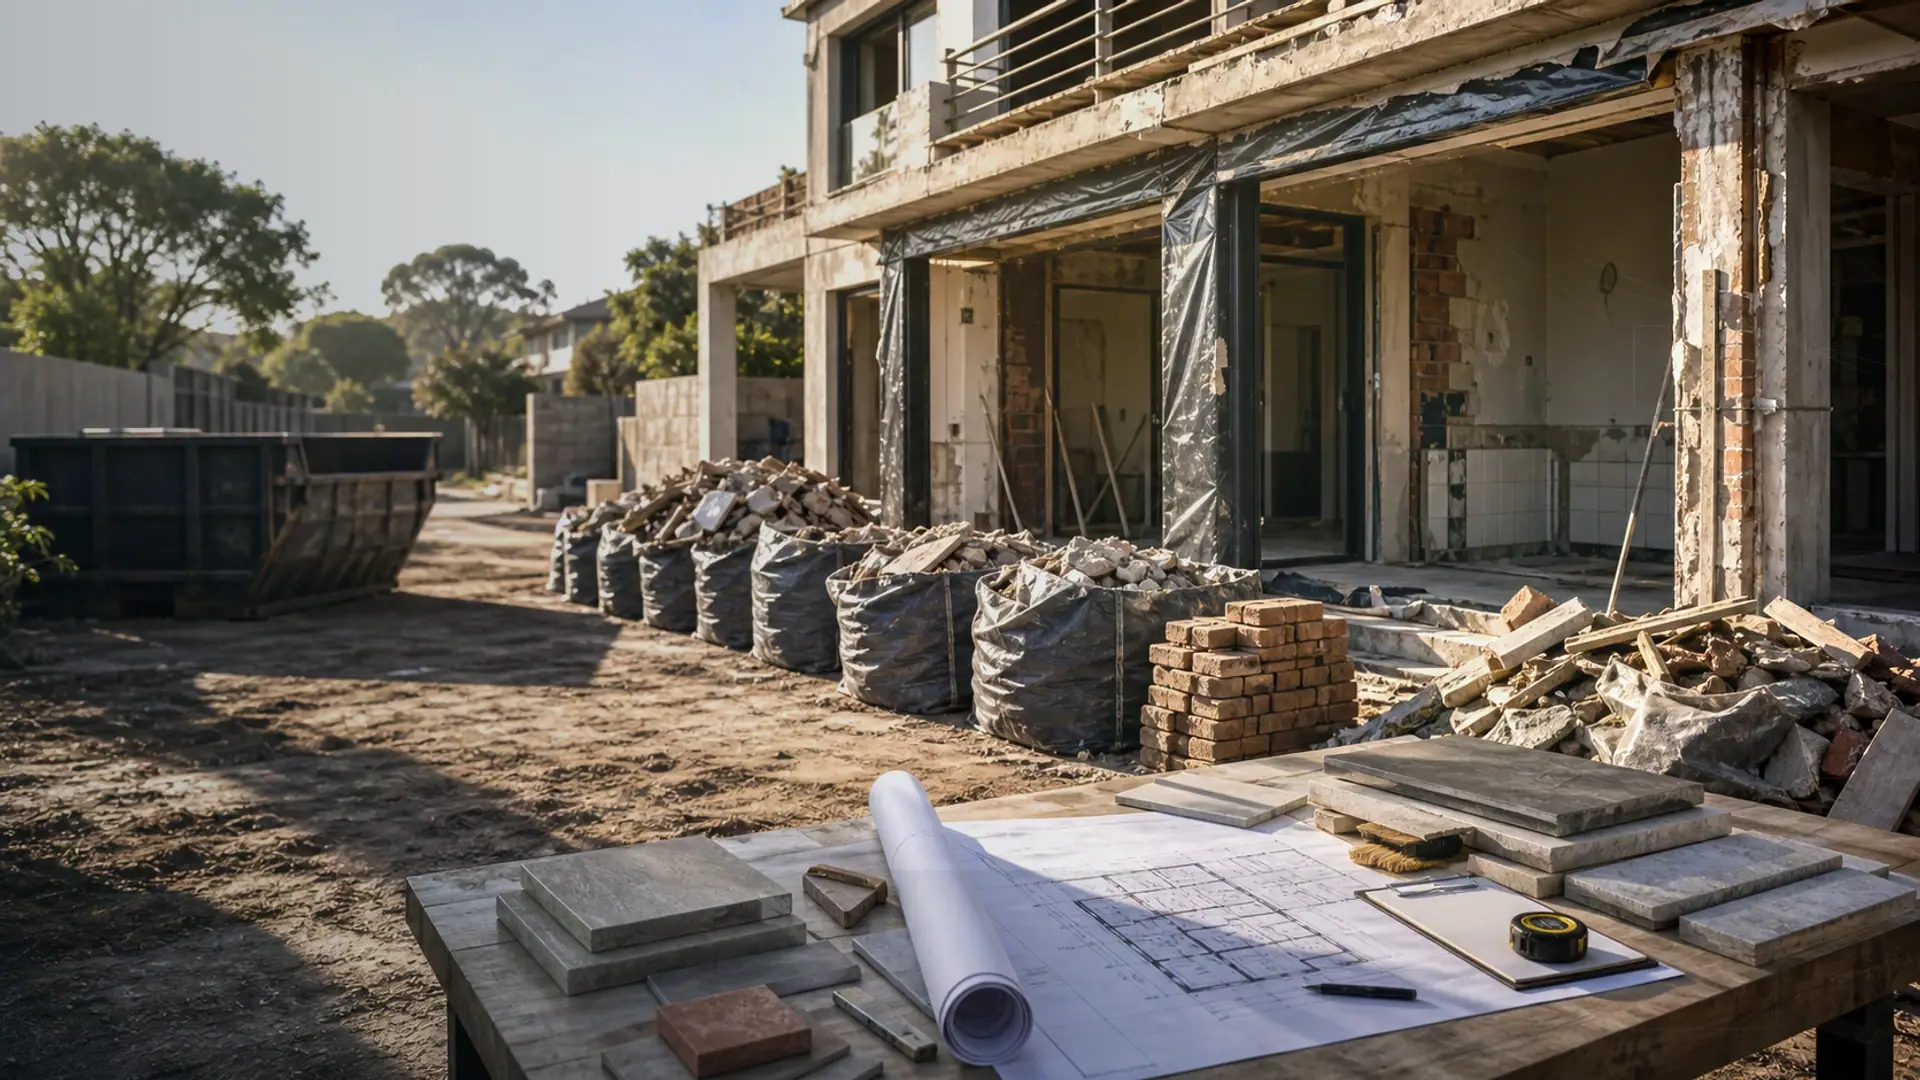
Why Paving Sinks and Shifts
It's the base, not the bricks – compaction failures behind every dip
Quick answer
Why paving sinks and shifts – poor compaction, bad edges and water – plus how proper base preparation stops it happening again.
12 min read
On this page
Why paving sinks in South Africa matters for cost-conscious homeowners is simple: poor base work cuts property value and raises future repair bills.
Curious: could a handful of centimetres of sand or a poorly compacted base be the reason your pavers fail sooner than expected?
Our platform, buildingpricessouthafrica.co.za, and our pricing guidance show the true cost difference between durable materials and cheaper options.
Recognising early signs in paved areas helps you act before costs climb. Proper base preparation controls surface stability and keeps pavers level under heavy use and changing weather.
We explain scope, labour, material choices and what to confirm in writing so you can compare quotes and avoid common pitfalls.

Use our resources to decide on suitable sand, correct compaction and long-lasting installation that protects your budget.
Understanding why paving sinks in South Africa
Settling and dips in paved areas commonly trace back to movement under the surface. Small shifts in the base show on the surface as uneven pavers or a shallow dip on a driveway.
Poor compaction of soil at installation is the usual root cause. Over time, trapped water and rising moisture soften the base and start a slow sinking process.
Tree roots and ground movement add pressure beneath the surface. Roots seek moisture and displace base material, so a nearby tree can create local dips.
Watch for puddles after rain or persistent wet spots in winter. These signs point to drainage problems and an increased risk of further movement and long-term problems for driveways.

“Poor soil compaction is a primary cause of driveway subsidence.”
Essex Elite Paving
| Cause | Typical sign | Urgency |
|---|---|---|
| Poor soil compaction | Local settling, uneven pavers | High — assess and repair |
| Poor drainage / water build-up | Post-rain puddles, soft base | High — fix drainage |
| Tree roots / ground movement | Isolated dips, cracked edges | Medium — root management |
The anatomy of failure and the layer system
Structural failure typically starts in the base layers when installation shortcuts let materials move. A stable system relies on compacted crushed stone layers to give the pavers firm support.
The role of base compaction is simple: compacted stone locks together so the sand bedding sits on a solid bed. Without proper compaction the sand will migrate and the pavers will settle under vehicle pressure.
The role of compaction
Good compaction creates interlock in the stone and prevents movement of sand into the soil below. That locking action is what keeps your driveway flat under daily loads.

Identifying shortcut signs
Look for uneven joints, gaps at the edge and small dips near the kerb. These are early signs that the sub-base has failed.
- Pooled water during winter shows the base is allowing moisture to collect.
- Thin base layers lead to sagging under pressure from vehicles.
- Missing stone edges lets sand wash away and starts layer migration.
“Inspect the edges first; most failures become visible there before the centre gives way.”
Environmental impacts and water routing basics
Surface water management determines whether your driveway stays level or slowly loses support. Effective water routing is the primary system that prevents erosion of the soil beneath paved areas.
Gravity and poor gradients let water collect at the edge and seep into the base. That moisture loosens sand and causes movement in the pavers over time.
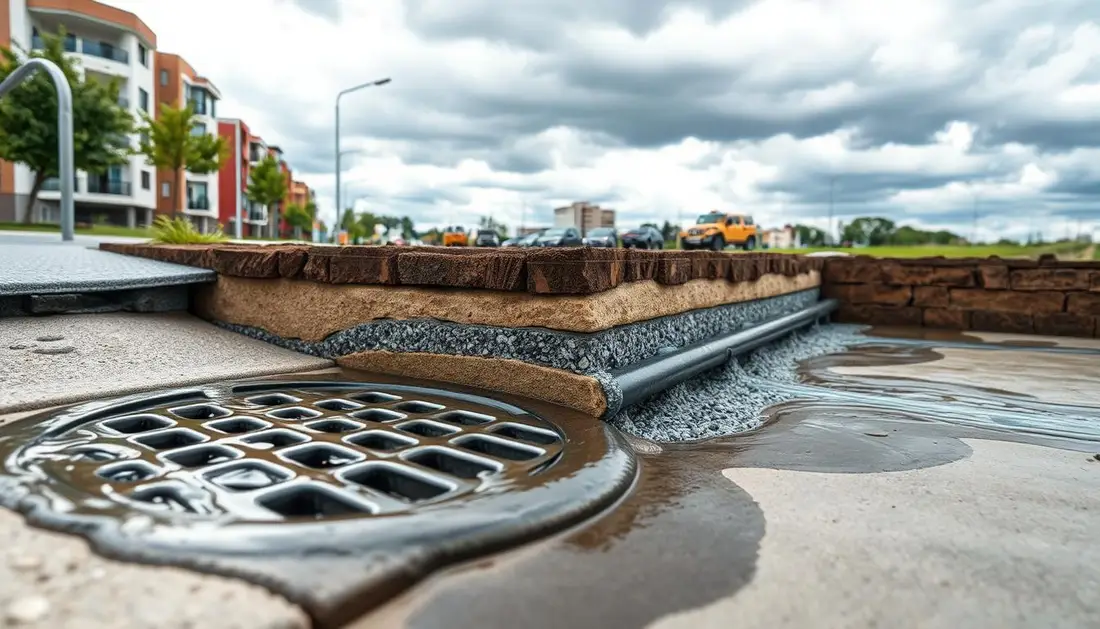
Why drainage failures masquerade as paving failures
Drainage faults often look like a pavers problem, but the real issue lies below. Excess water from heavy rain will wash sand from the bedding and create voids that cause local subsidence.
Tree roots can redirect flow and make moisture pockets near mature trees. In winter, frozen joints force movement and widen gaps.
- Check gradients: ensure surface slopes away from buildings and edges.
- Manage runoff: use channels or drains so water does not travel beneath the surface.
- Watch trees: roots and soil displacement are a common cause of sinking near driveways.
“A well-designed drainage system is the barrier that keeps base materials intact and your paved areas stable.”
Assessing the property: Re-lay versus full redo
A short site photo can reveal if your surface issue is cosmetic or a sign of deeper base failure.
Start by checking joints and bedding sand. Wide, crumbling joints or missing sand point to installation failure rather than a simple surface repair.
Use the GardenDream app to upload a clear photo of the driveway. The tool highlights weak spots and shows if the problem is localised or affects the whole area.
If the soil under the base has shifted, a re-lay will only mask ongoing movement. In that case you need a full redo to replace base materials and recompact the sub-base.
Washed-away sand from poor drainage also signals a deeper issue. Replacing the sand without fixing the base and water routing often causes repeat repairs over time.
- Localised dip + intact bedding = targeted re-lay may work.
- Widespread movement, soft soil or age-related failure = full base reconstruction.
- Crumbled joints, edge failure or repeated sump points = replace base materials and check installation details.

“Use photos and a short inspection to save time and pick the right repair scope.”
Quality checks during the installation process
Spot checks during laying keep small installation faults from becoming major defects. Be present during key stages and verify materials, compaction and gradients as the crew works.
Verifying base material quality
Ask to see that MOT Type 1 aggregate is used for the base. This stone gives reliable support and resists movement under pressure.
Confirm compaction is done in 50 mm layers so the base packs correctly. A poorly compacted base invites future dips and movement.
Monitoring edge restraint stability
Check the edges early. Edge restraints stop pavers from spreading under vehicle load. If restraints wobble or are shallow, the joints will widen and sand will wash out.
Checking for proper surface gradients
Verify a 25 mm bedding sand layer is used for levelling only, never as a substitute for a solid base.
Ensure surface slopes direct water away from buildings and into the drainage system. If you see any dip during installation, pause the work and address ground or compaction issues.
- Inspect joints are fully filled to keep moisture from reaching the base.
- Watch for early signs of tree roots near the edge; roots can displace layers and cause local subsidence.
- Confirm installers plan for runoff so rain does not erode the base layers over winter.
“Small, timely checks save large repair bills later.”
Connecting with independent contractors for expert guidance
Get matched to experienced tradespeople who understand local soil and drainage and can advise on correct materials.
Use our quote request process at buildingpricessouthafrica.co.za to find independent contractors who will inspect and diagnose your specific problem. We connect you with local specialists who can recommend the right repair and base scope for the area.
Atlantic Brick and Stone stresses that experience and quality materials matter. Ask candidates about past complex repair projects so you know they grasp base preparation and drainage nuances.
- Request references and examples of similar work.
- Compare approaches to solving your issues and structural problems.
- Confirm scope, timelines and quality of materials in writing before work starts.
“Prioritise quality over cost; skilled labour reduces future maintenance.”
Atlantic Brick and Stone
Our quote request process helps you get clear assessments and comparable quotes. That makes it easier to resolve the issue and choose a contractor who will protect your investment long term.
Ensuring long-term stability for your paved areas
Spot inspections, timely repairs and correct materials extend the life of any paved area.
Check for early signs of sinking or movement and keep joints topped with sand to stop water reaching the base.
Clear debris in winter and remove pooled water; this protects the surface and reduces freeze or frost damage to pavers.
If you find a low spot, lift the affected pavers, re-compact the base material and re-seat the bedding sand to restore level.
Record installation details — materials, compaction method and edge restraint — so future repair or warranty claims are straightforward.
Prioritise quality stone, correct installation and good drainage to protect your driveway investment over time. It reads well alongside driveway falls and drainage basics.
Price it up from paving cost per square metre. For what this typically costs, see budgeting for paving per square metre.
FAQ
What causes paving to sink and shift in South Africa?
Most sinking and movement come from poor base preparation, inadequate compaction and insufficient edge support. Wet seasons and poor drainage saturate the subgrade, while tree roots and bulky loads create localised pressure that displace the bedding layer and pavers. Use a firm crushed-stone base, correct sand bedding, compact each layer and install a solid edge restraint to reduce risk.
How important is the base layer compared with the bedding sand?
The base layer carries the load; the bedding sand merely provides a level surface for the pavers. If the base is poorly graded, under-compacted or made from unsuitable material (eg. uncontrolled topsoil), the whole system will settle. Aim for a compacted crushed-stone base of the correct thickness for the traffic, and a 20–40 mm screeded bedding sand layer to bed the pavers without making the base work harder.
What signs tell me the layers have failed before there is obvious sinking?
Early signs include hairline dips, joints opening or locking, uneven surface gradients, and isolated rocking pavers. You may notice pooling of rainwater, increased joint erosion, or small cracks at the edge where restraints are failing. Check for soft spots under the surface by tapping pavers and looking for hollow sounds.
How does water and drainage affect long‑term stability?
Poor drainage soaks the subgrade, reduces strength and causes differential settlement. Surface grading, outlet points and sub-surface drainage must move water away from paved areas. Drainage failure often looks like paving failure: standing water washes fine material from joints and base, causing voids and sinking. Install falls of 1–2% where practical, and use channel drains or French drains where needed.
Can tree roots cause driveway or patio dips, and how do I spot this?
Yes. Tree roots can lift pavers in some places and create voids in others, leading to uneven surfaces and dips. Look for localised heaving, lifted joints, displaced edges and exposed roots at the perimeter. Large trees close to paved areas almost always require specialist assessment to balance the tree’s health with the paved surface stability.
When is a re-lay acceptable and when do I need a full redo?
Re-lay can work when issues are limited to the top layers: loose or uneven pavers, contaminated sand, or minor edge failure. Choose a full redo if the base is contaminated, weak, under-compacted, or if drainage and subgrade problems exist across a large area. Always inspect at least a sample 1 m² down to the base to determine the scope.
What quality checks should I insist on during installation?
Verify the subgrade is proof‑rolled and compacted, base material type and compaction levels, bedding sand depth and screeding method, edge restraint type and fixing, and finished surface falls. Ask contractors for compaction method (plate compactor or roller), material certificates for crushed stone and crusher sand, and reference photos during each stage.
How do I verify base material quality and compaction on site?
Confirm crushed stone (G5/G7 or equivalent) is used and free of organic matter. Look for uniform thickness and clean, compacted layers laid in 75–150 mm lifts. Contractors should compact each lift with a plate compactor and provide a basic compaction report or test if the job is large. If in doubt, get an independent Site Agent or geotechnical test.
What edge restraints work best to prevent movement and dips?
Concrete kerbs, cast‑in‑situ edge strips, or solid concrete or steel edge restraints fixed into compacted base work best. Plastic edging alone is often insufficient for driveways. The restraint must be seated into the compacted base and backfilled so that it restrains lateral movement under load. This pairs naturally with concrete vs paving driveway.
How should surface gradients be set to avoid pooling and erosion?
Aim for a minimum fall of 1% (10 mm per metre) from the centre to the edge or towards drainage points; 2% is preferable where possible. Ensure gutters, channel drains and outlet points are in place to take surface water off the paved area quickly and prevent water entering the base.
What maintenance stops small issues becoming costly repairs?
Regularly sweep and re-sand joints, keep drains clear, remove weeds, and inspect edges after heavy rain. Replace or re-compact isolated pavers early rather than waiting for widespread settlement. Control tree growth near paved areas and repair minor edge cracks before they widen.
How much should I budget for repair versus full replacement in South Africa?
Costs vary by extent, access and materials. Small repairs or re-lays on patios can start from about R350–R650 per m² for labour and materials. Full replacement with a properly compacted crushed-stone base, new bedding sand and quality pavers is typically R650–R1 200 per m² depending on paver type, drainage work and edge restraints. Get up to 3 independent quotes to compare scope and warranty. This pairs naturally with cement, clay & flagstone pavers compared.
When should I contact an independent contractor or specialist?
Call a contractor when you see structural signs (large dips, extensive joint failure, ponding) or suspect subgrade problems, tree root interference or drainage failure. For large driveways or public access areas, ask for a contractor with references, written scope, material specs and a timeline. Our platform can help you request multiple quotes from independent contractors in your area.
Which materials and layers reduce the chance of future movement?
A well-graded crushed-stone base, mechanical compaction in lifts, a 20–40 mm bedding sand layer, strong edge restraints and correct jointing sand with polymer stabiliser where needed reduce movement. Geotextile underlay can help separate poor subgrade from the base. Choose materials suited to traffic loading and local soil conditions.
What role does seasonal change, especially winter rains, play in movement?
Heavy seasonal rains soften subgrade and increase pore water pressure, reducing bearing capacity. Frost heave is less common in most South African climates, but wet–dry cycles still cause shrink-swell movement in some clay soils. Design bases with adequate depth and compaction and provide reliable drainage to manage seasonal effects.
How do tree roots, moisture and joints interact to cause erosion under pavers?
Roots can displace layers, and moisture flowing through joints washes fine particles from the bedding and base, creating voids. Over time the voids collapse into dips. Proper jointing sand, sealed joints where necessary, and control of root paths minimise this interaction. For significant roots, consult an arborist and a contractor before remedial work.
Ready to compare?